|
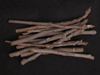
There is no perfect size for a cutting. However, cuttings that are about 6-8" in length, and 3/8-5/8" in diameter are generally easy to work with and give satisfactroy results. Cuttings should have several "nodes". Three seems to be a good minimum.
|
|
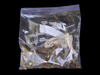
However, if you have only one cutting, you may want to cut it into multiple pieces, to improve the odds of successfully rooting a piece, rather than an all or nothing approach with one cutting. These are short cutting with only ONE node, which were rooted in a bag, much like longer cuttings.
|
|
The same cuttings shown a little closer up. |
|
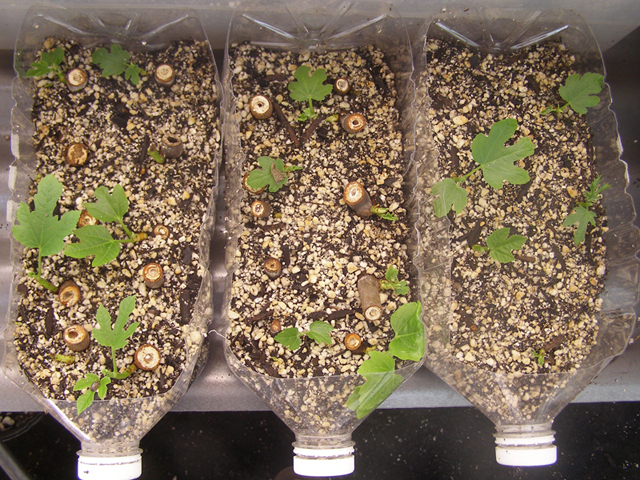
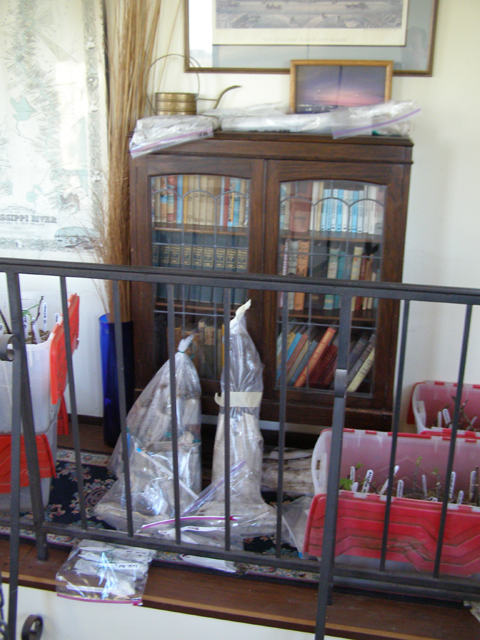
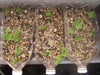
Pre-rooted one-node cuttings "planted" for further development.
|
|
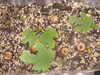
Close up. |
|
Making good progress, and ready for potting. |

|
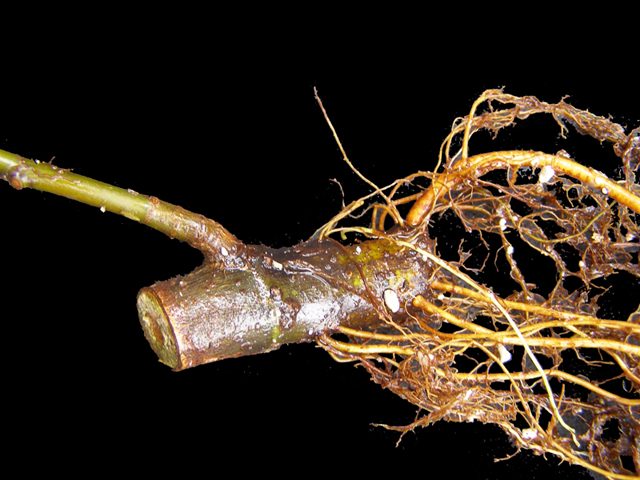
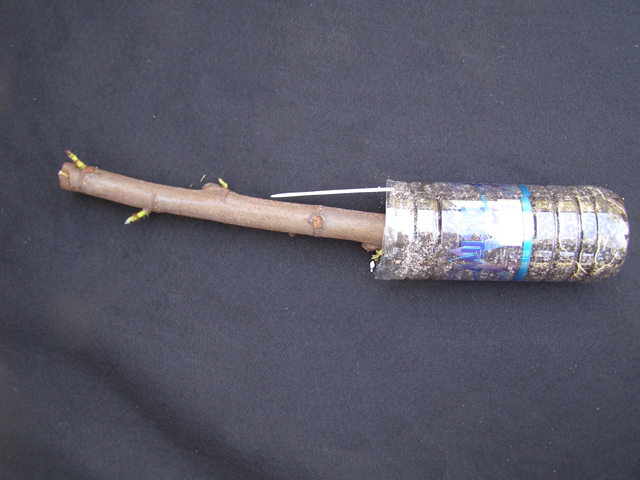
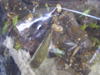
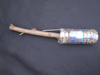
Rooted one-node cutting.
|

|
The same cutting close up.
|

|
You only need one node, or bud, to produce a new plant. However, the smaller piece of material you are working with can lead to a lower percentage of success. |

|
What about larger cuttings? |

|
Larger cuttings generally require bigger toys. Here are some cuttings, up to about 18" long rooting in bags, just like the regular sized cuttings. I have rooted cutting as large are 2" in diameter and 2' long. The techniques and issues are the same, but everything is bigger. |
|
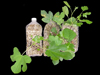
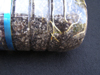
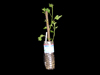
These cuttings were rooted in 1-liter water bottles, which are essentially large "cups". Make sure to include drain holes. For larger cuttings, 2-liter soda bottle could be used. Split the sides of the bottle, and tape it back together for easier removal when it is time to re-pot them. |
|
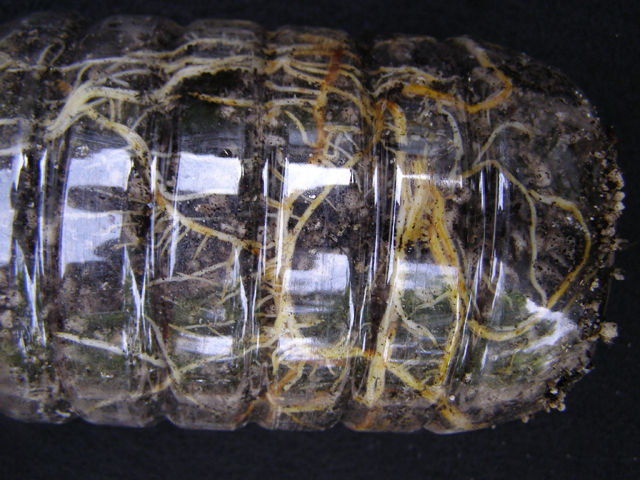
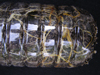
Root development. |
|
Another example of root development |
|
Showing nice shoot development as well. |
All images displayed on this website are copyrighted by this website or by their original sources and may not be used without permission. |