|
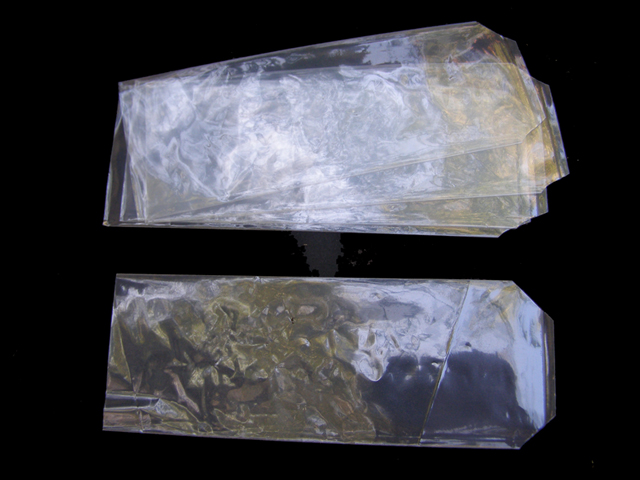
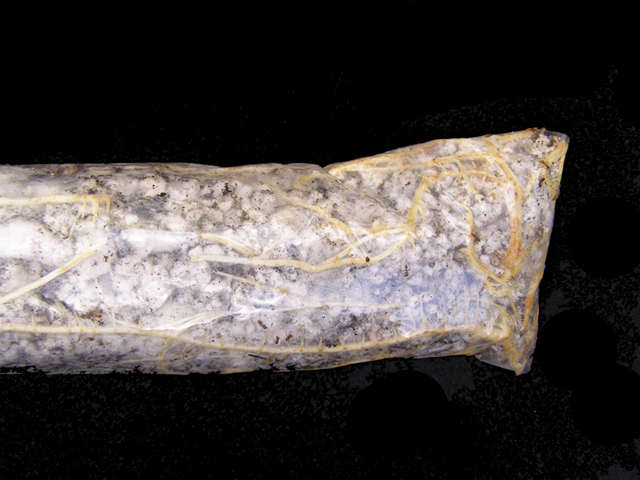
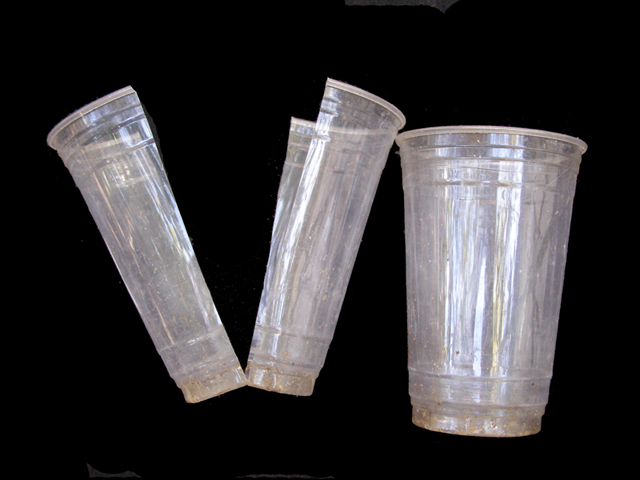
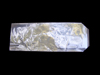
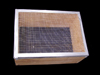
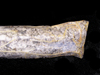
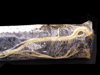
A group of bags, and an individual bag. I started trying this method because I thought rooting might be better if there was some organic material in the potting mix. But, in the past, I found that the organic material caused the mix to stick to the side of the clear cups, and made removal difficult and the result often was damaged roots. Slitting the bag open is easy and eliminated the damaged roots. The clear bags still allow you to see the root development.
|
|
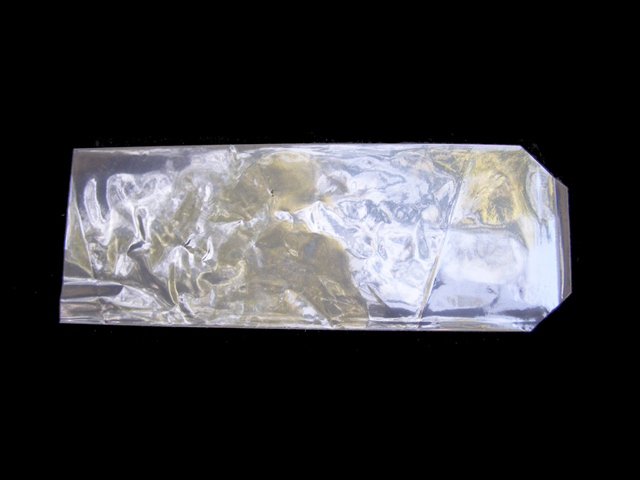
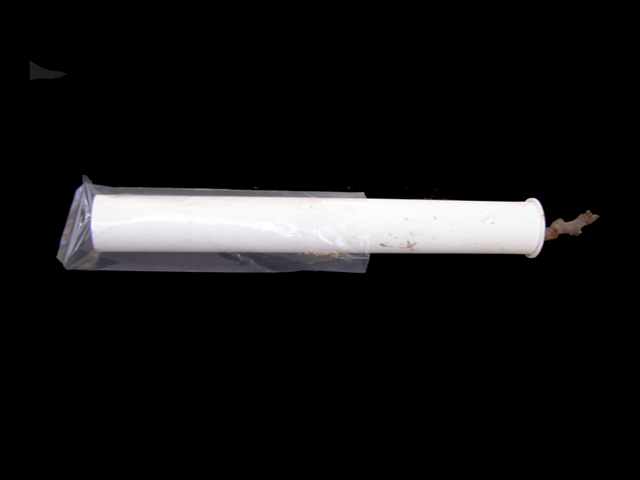
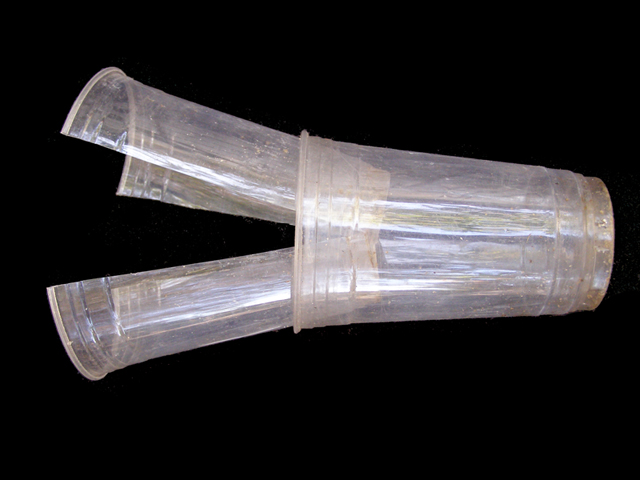
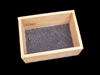
An individual bag showing corners trimmed off at a 45 degree angle to make drainage holes. I found I could trim up to about 8 bags at a time before the slickness of the bags caused difficulty. I have finally made a little jig so I can cut about 50 at a time.
|

|
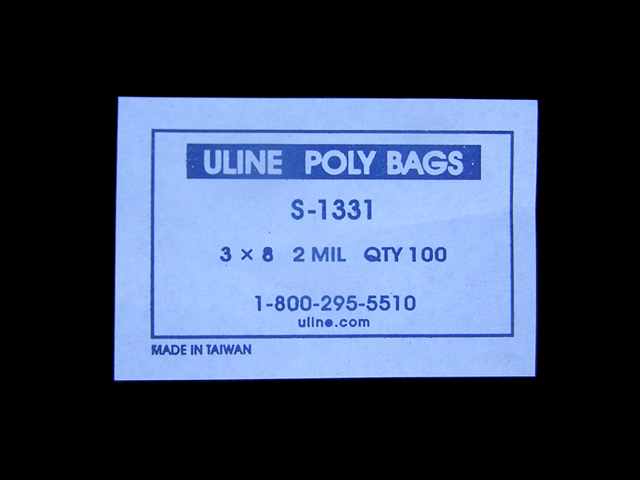
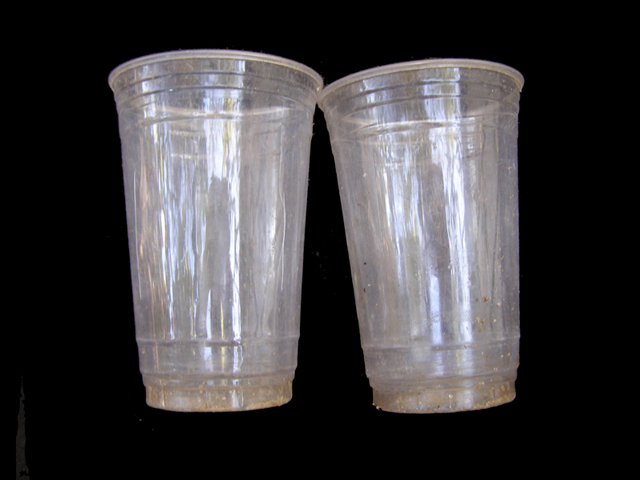
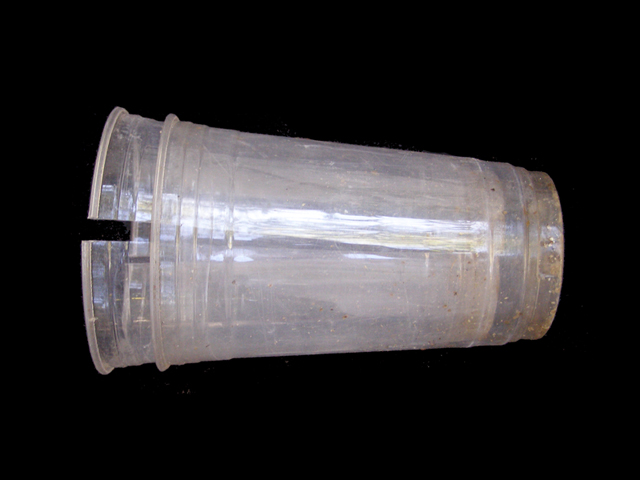
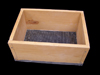
The bags were ordered from Uline. They deliver overnight when ordered by 5:00 p.m. This size gives you a 2" diamater bag, when filled. I chose this size to keep the rooting zone narrower, which would decrease the amount of space that each cutting took up in my greenhouse. Also, the bag is as deep is the cutting is long. When the bag is almost full, the cutting only protrudes a little. This gives more rooting surface than the shorter cups and minimizes the amount of cutting exposed to the air. This reduces the surface where the cutting can dry out, making humidity around the cutting less critical, and hopefully reducing mold.
|
|
I thought the compost offered some "rooting hormone" affect, and that might still be the case, but as time has passed I have come to believe that the compost was possibly also causing my cuttings to be composted. So I switched to using well chopped sphagnum moss in my mix (15%). It also seems to have some very good anti-mold properties, as well.
|
|
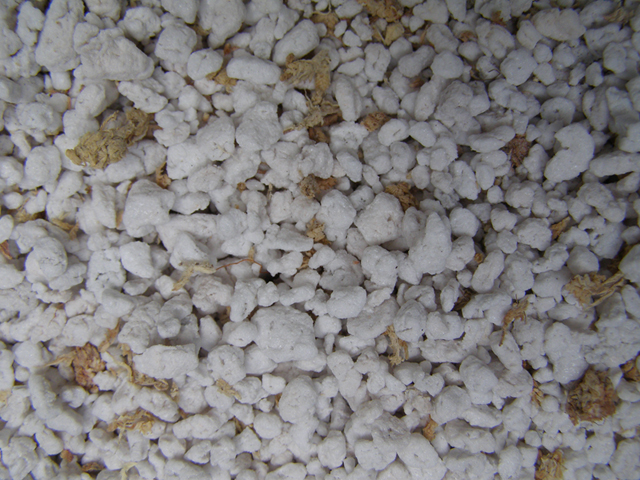
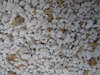
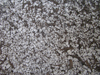
Raw Perlite, unscreened.
|
|
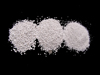
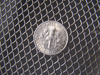
Also new is that the Perlite is screened to remove anything that will fit through 1/4" screen. I became convinced that no matter how coarse the large pieces, it was the smaller pieces that were the problem, particularly the finer sand-sized particles. After screening. The left pile is 1/4" or larger, the middle pile 3/32" to 1/4" and the right pile is smaller than 3/32". Again, the dust and extreme fines were already removed.
The intermediate size is saved and used for potting mixes when moving the cuttings from the bags to 1 gallon pots.
|
|
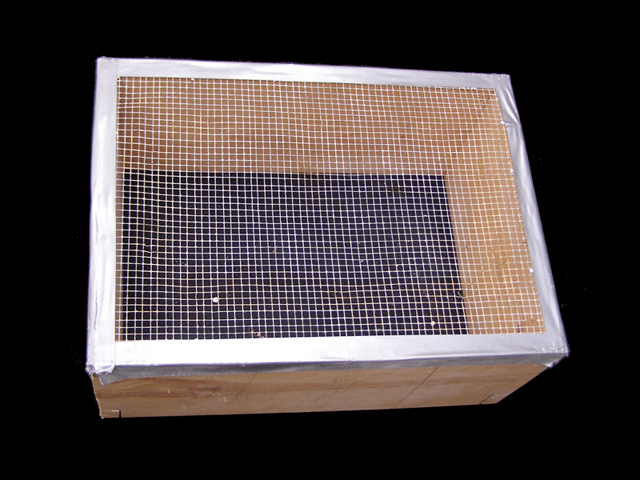
Making a screen box is easy.
|
|
|
|
|
For finer screening, I have found an IKEA wire trash can works great. I am working on a larger capacity screener.
|
|
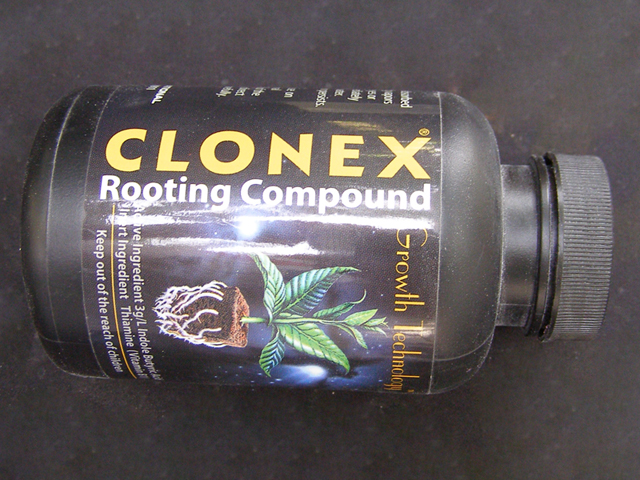
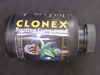
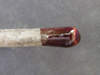
You do not need t use a rooting hormone, and powdered hormones appear to actually encourage rotting of the cutting. However, early results of experiments with Clonex in 2103 seem to be promising.
|
|
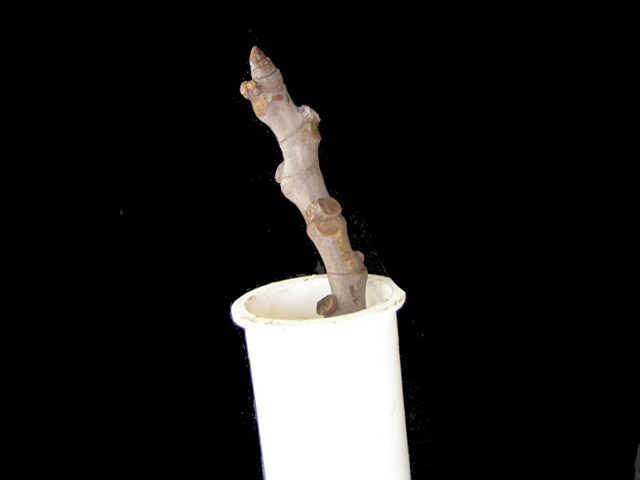
Cutting dipped in Clonex.
|

|
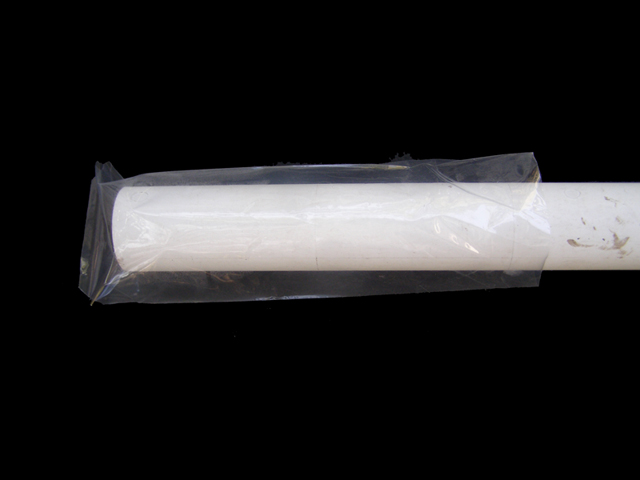
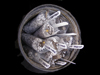
This is a "tail piece" from the plumbing store, used to connect the drain from your sink. I think this one is 1-1/2" diameter. Blow into the bag to puff it out, and insert the "tail piece" into the bag, all the way to the bottom, which will hold the bag open, so you can insert the cutting, and pour in the rooting mix, sort of like a funnel.
|
|
|
Same, closer up.
|
|
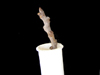
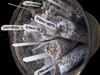
Drop the cutting in. If they are too "curly" to fit through, put the cutting in first, but still use the tail piece as a funnel.
|

|
Same, full view.
|
|
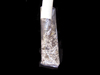
Filling the bag with rooting mix. If the cutting is thick (large diameter) the rooting mix doesn't fall in as well. I fill up the "funnel" and then pull it out half way, and refill. That is usually enough to fill the bag completely.
|
|
This is the mix I used: probably 80% or more Perlite. The rest was compost from the local landfill, aged a few weeks.
|
|
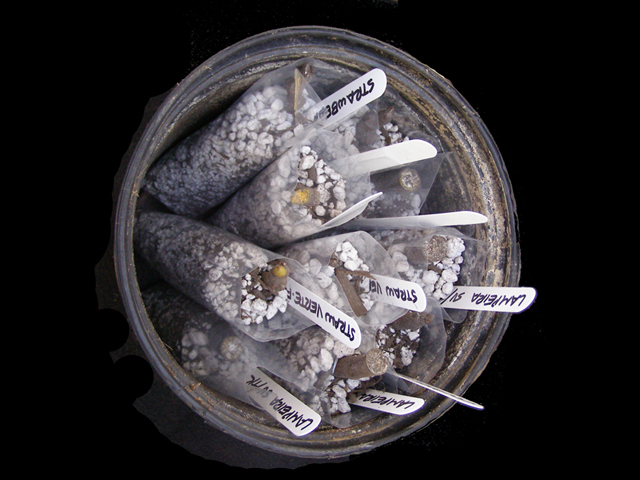
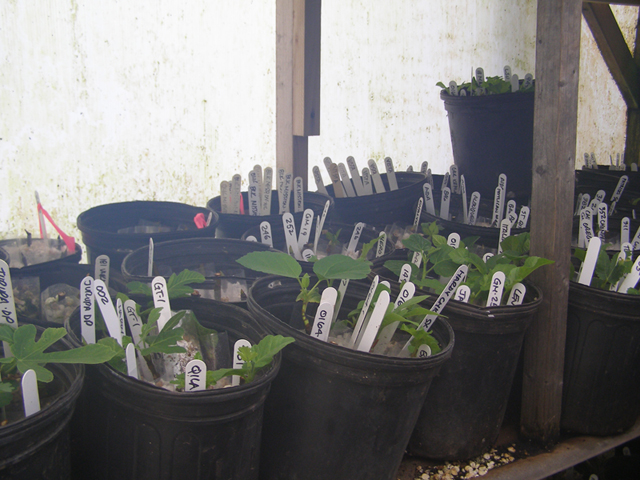
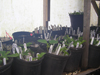
Several bags grouped in a small nursery pot. A 2 gallon pot hold 10-11 cuttings. Don't forget to label. MORE about labels
|
|
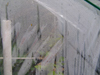
Same, watered, and then placed in the greenhouse. The coarse Perlite and minimal organic material allows you to thoroughly soak the mix, but most of the water runs on through, avoiding too much moisture around the cutting, reducing rot.
|
|
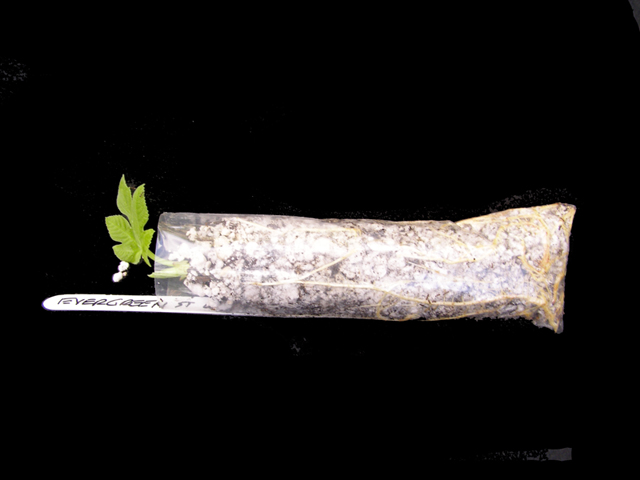
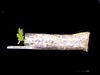
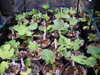
Root development at 4 weeks. Your results may vary. Other cuttings done at the same time are definitely rooting at a slower pace.
|
|
Roots close up, one side.
|
|
Opposite side.
Splitting the bag was very easy, with no root damage when I used an X-acto knife with a new, fresh, sharp blade. MORE PIX
|
|
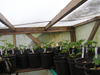
I also took the shade cloth off of the top of the greenhouse (translucent plastic top) so that they get a good dose of diffused sunlight. Direct sunlight on the cuttings will cook them and/or dry them out. Burying 90% of the cutting in the rooting mix aids in preventing drying out. I no longer believe that light is not necessary. As soon as they have leaves they get as much diffused sunlight as possible (I may add some grow lights), believing that the photosynthesis helps drive the root development much like it does in an air-layer. It also helps acclimate the leaves to light and sunlight which has greatly reduced the transition time.
|
|
Then comes comes moving to 1 gallon pots. At this stage, with good root development, I am using Perlite (65%), again screened, but using anything 1/8" and above. This has greatly increased drainage by, again, eliminating the very fine particles in the Perlite. To this I am adding 35% very well screened/sifted aged compost. The screening removes any larger particles that are still decomposing and that, in my opinion, may also tend to help compost my new roots. I water directly in the center of the pot, and do not water the entire amount of potting soil, just directly around the cutting. This allows the drier material at the outer areas of the mix to absorb and wick any excess water. Then they go into the greenhouse at 80/90F (maybe more in early afternoon). They are on the top shelves and get full diffused sunlight.
|
|
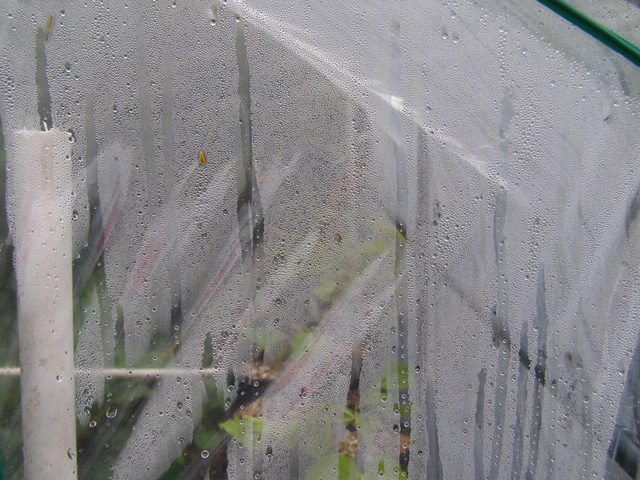
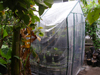
When they are stable and showing new growth (a week or two), they move to a greenhouse (the cheapo, plastic one from Big Lots - a lot of issues, but have re-engineered it enough to make it work). It is unheated, but gets quite warm in the sunlight. I let them have morning and later afternoon direct sun for a week or so, and then full sun. The greenhouse is very humid and there is enough water vapor/moisture to fog the plastic cover which helps diffuse the sunlight.
|
|
|
|