
CARING FOR FIG TREES
This is a presentation done by William Muzychko in 2008 for local fig lovers in New Jersey, which he allowed Figs 4 Fun to share here. He has experience growing figs on the East Coast, which I do not have, growing figs in San Diego.
|
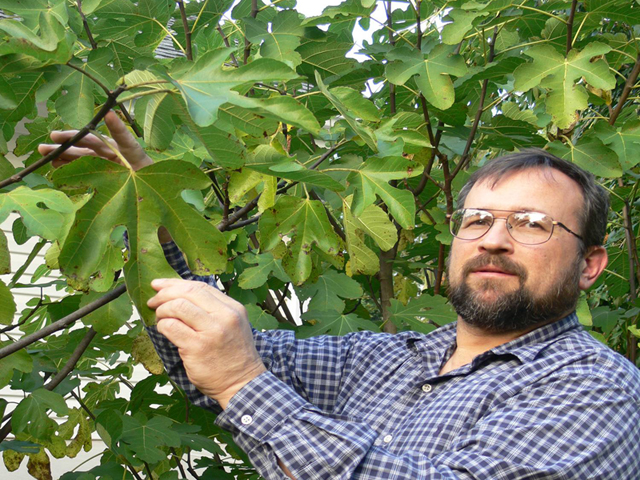
Welcome to the Care of Fig Trees, my name is Bill Muzychko (just like it sounds Mu, like moo, zych like itch, and co like company). I live at 329 Old York Road in Flemington, New Jersey and have been growing figs for about 7 years. I have over 100 fig trees. Each of my mature trees (I mean 4 years old or older) have between 200 and 300 figs on them during a growing season. It is not easy growing figs in New Jersey because they are Semi-Tropical Trees and are not used to cold winters. I have developed a system that not only extends the growing season but encourages rapid growth. |
|
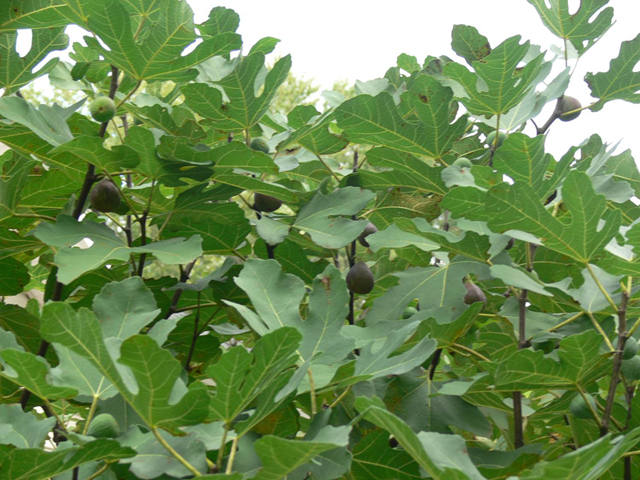
This is a 5 year old tree with a good crop. |
|
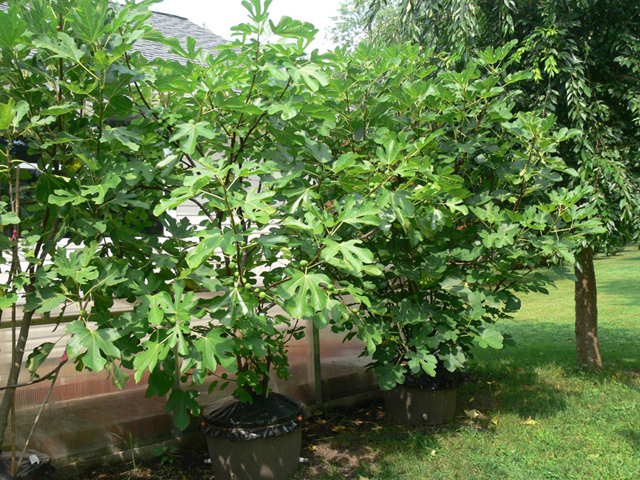
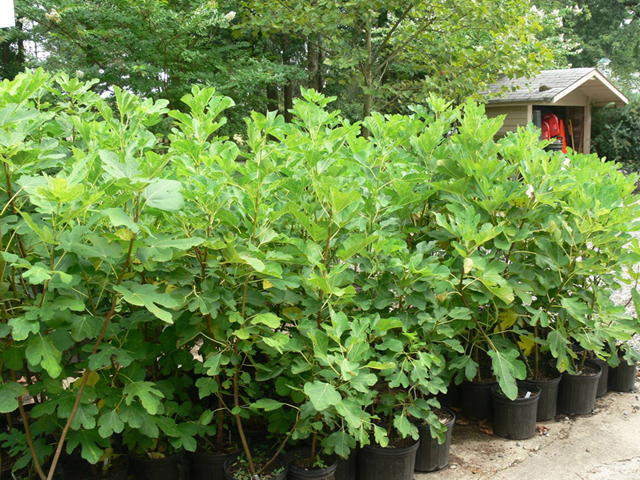
These are some of my mature trees. My greenhouse in the background. |

|
Some more of my mature trees. The tree on the far right is a Brown Turkey. It produced 300 Figs! |
|
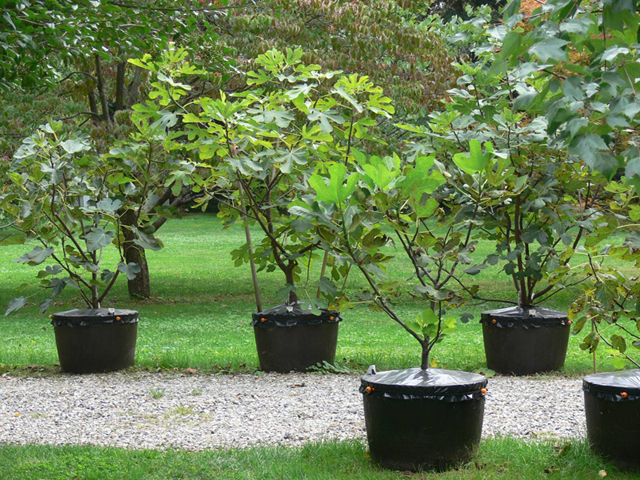
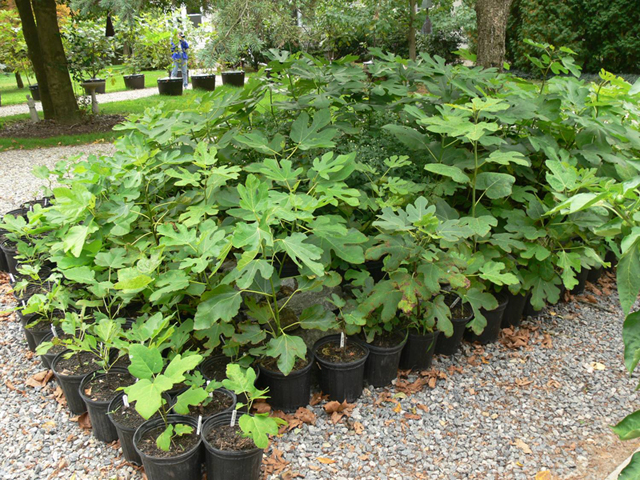
Some of my younger trees. These trees are 3 years old and already bearing figs. |
|
These are the 1-year old trees that I have for sale. There are 10 different varieties in this group. |
|
These are the newest plants, approximately 3 to 5 months old. |

|
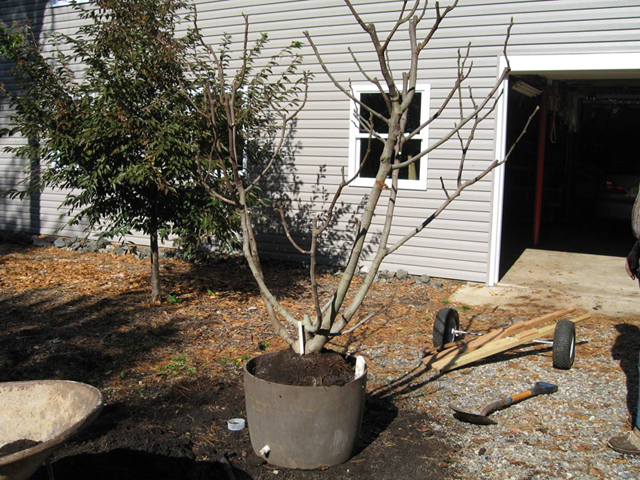
This is the plant dolly that I made. It comes apart into 4 pieces and makes moving the plant very easy, just like a wheelbarrow. |

|
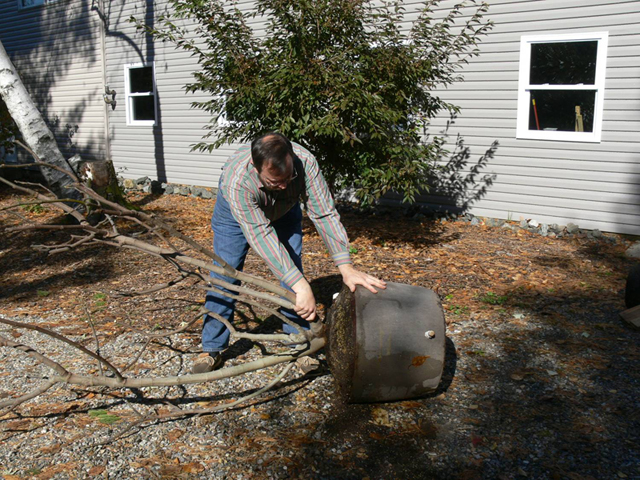
The plant requires root pruning about every 3 years. Without root pruning the plant will produce less and less fruit and will eventually die. Root pruning is good for the plant and reinvigorates it, stimulating new growth. I start by removing the black plastic cover that is held in place by bungee cords. |
|
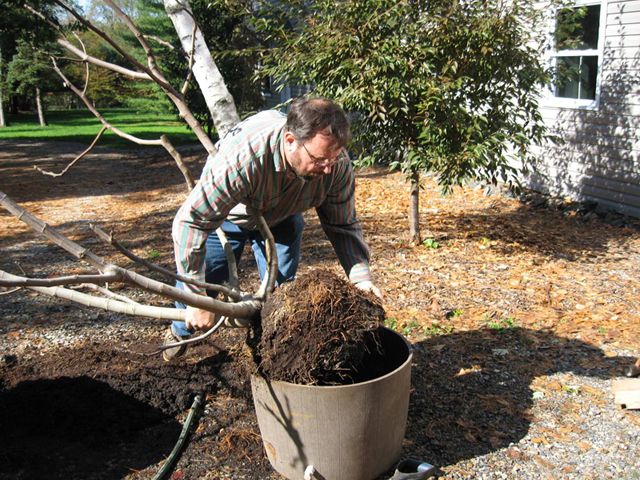
Next, I pull the tree out of the pot. You will have to cut the tie holding the fill tube in place. |
|
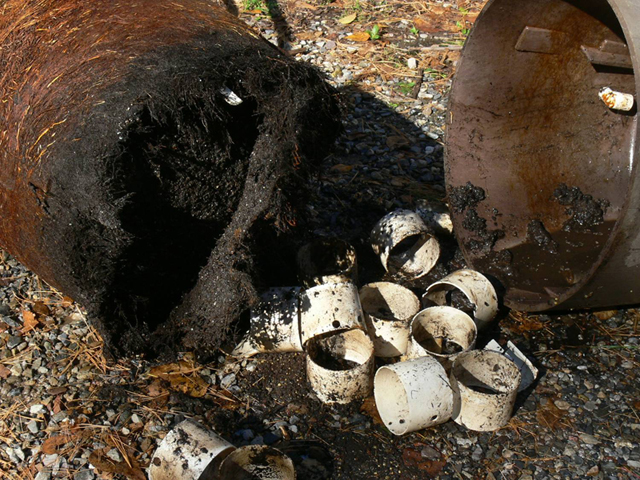
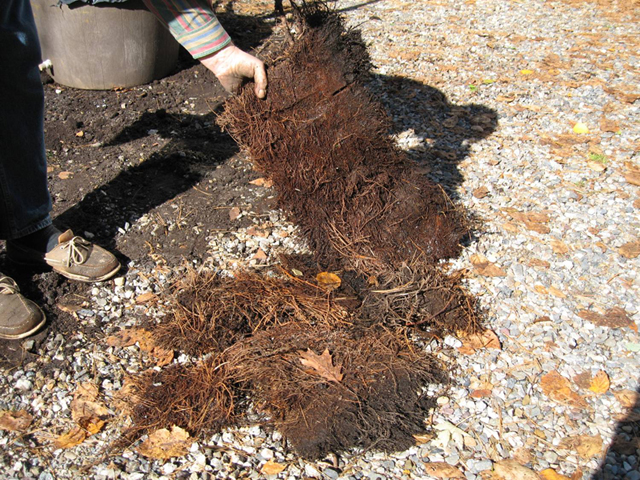
After a few years the rootball is one solid mass of roots. The wire lath and the PVC pieces will be explained later. I root prune, initially after 4 years for a new tree, and every three years there after. |

|
The first step is cutting away the roots. Here I am using a shovel, but in truth, they are much easier to remove with an ax. You need to cut and remove 2" all around the sides and about 2" off of the bottom, as well. [I have seen pictures of this being done with a chainsaw, as well.] |
|
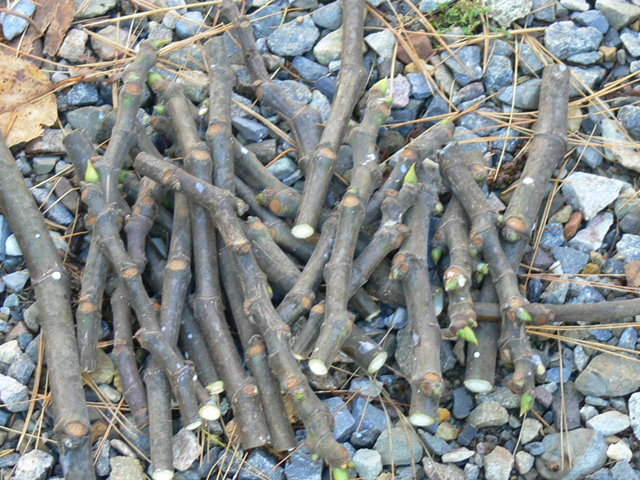
These are some of the roots cut from this plant. |

|
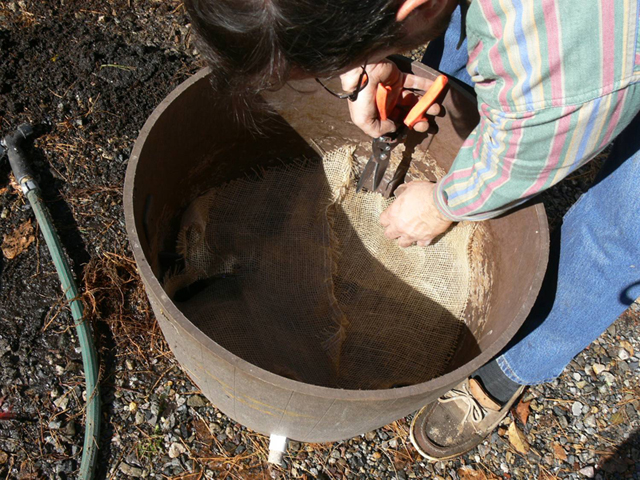
Next I assemble the planter pot. The rings which are 4 inch PVC cut to 3½ inches in length are placed at the bottom of the pot. The wire lath (used for plastering in home-building) is then placed on top. I leave three spaces where the dirt extends to the bottom of the pot. Also notice of the 3/8 inch hole in the side of the container (level with the top of the rings) which allows the water to drain out when it is overfilled. It is located under the triangular piece of screen at the left hand side of the pot. The drain hole is a 3/8 inch hole slightly below the top of the big tubes (4 inch PVC pipe). The drain hole is just a hole in the container that allows the extra water to drain out. Also lets you know when to stop watering. I place a small triangular piece of wire (about 3 inches cut into a triangle) lath over it at a 45 degree angle to keep it from clogging with roots. |
|
Burlap is placed on top of the lath to prevent the dirt from going beneath the screen. I am cut slots in the burlap so that the dirt goes to the bottom of the pot (in three places). |

|
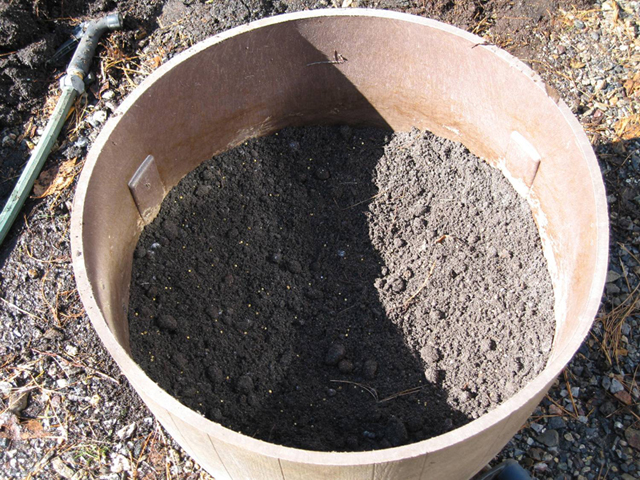
Pack the dirt into the three holes at the bottom of the planter. Bring the dirt so the crown of the tree is about 3 inches above the container. The dirt is above the burlap which is above the screen. There are three places where the dirt goes into the water (for wicking purposes). The dirt should be placed so the crown of the tree is about 3 inches above the container. The three inches allows for settling but also allows for the water that gets on top of the container to drain off (rain water). The year after you place the plant into the container you will have to add more dirt because of settling/ You would do this in the spring when you add fertilizer to the plant. |
|
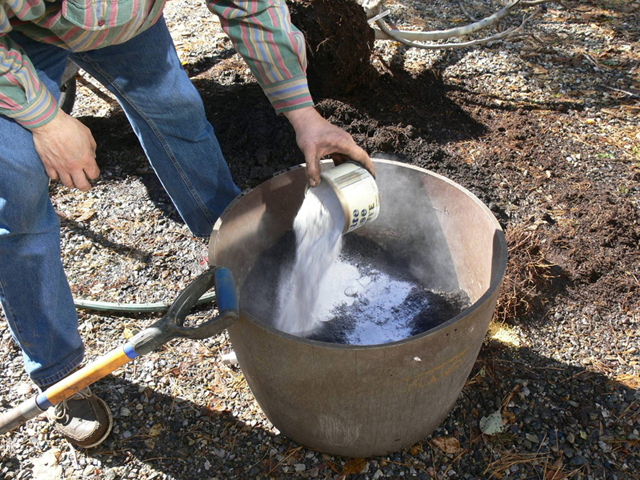
I use planting mix that I get from a local nursery. The mix has a lot of organics in it. It has a lot of dirt in it. I wouldn't use Miracle Grow soil of some other enhanced soils. Now, before you add the tree, the PH of the soil must be adjusted. For me, the planting mix that comes from a local nursery is too acidic for figs. To the soil I add about 6 lbs. of lime. I use granular lime stone because it releases more slowly into the soil. |
|
The pot is now ready to receive the fig tree. The pots are 22-1/2" diameter by 16-1/2" deep measured on the inside. They have no holes in them and are guaranteed for a period of 20 years. They are pretty thick and are very sturdy. |
|
Placing the fig tree into the pot is a good time for a little help. |
|
When the fig tree is in the pot it is important for the crown to be about 3 inches higher than the rim of the pot. |

|
With the dirt packed in and the top secured with the bungee cords. The plastic covering stays on all year. The only time I take it off is to fertilize the plant, then I put it back on. The cover is 3 mil plastic but thicker would be better. The plastic cover has two purposes: first, to seal the pot so no water escapes (see wicking system in the presentation) and it helps to warm the pot (figs like warm soil). I water through the fill tube which places the water in the bottom 3 1/2 inches of the pot. The fill tube is a 1 1/4 inch PVC pipe which runs to the bottom (3 inches) of the container. This way the plant doesn't get confused by the addition of water from above. It only gets water from below. I fill the container up with water slightly below the overflow hole and place in the garage for winter storage. The plant doesn't drink any water during the winter. |

|
Pruning is very important part of caring for a fig tree. I use the three-D rule of pruning: "dead, diseased or damaged". But I also add a fourth D: design. You basically want to remove 1/3 of the growth of the tree so that you leave adequate space between the branches. Cut away any branches that cross or dont grow in an acceptable fashion. |
|
One might ask what should be done with all the branches that are cut off. I save them for starting new plants next year. I place them in a plastic bag in the refrigerator until next spring. |
|
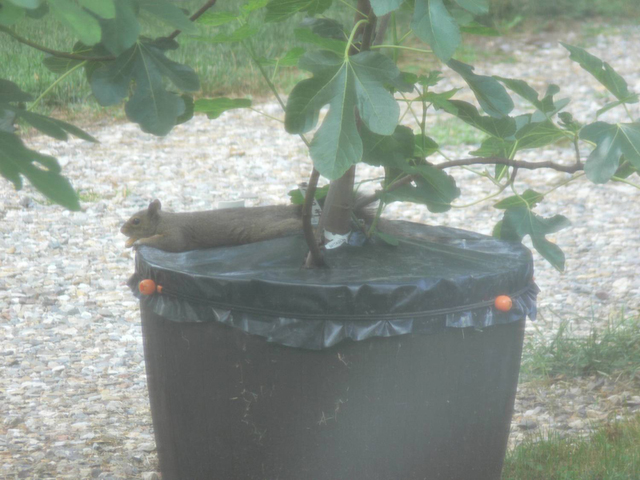
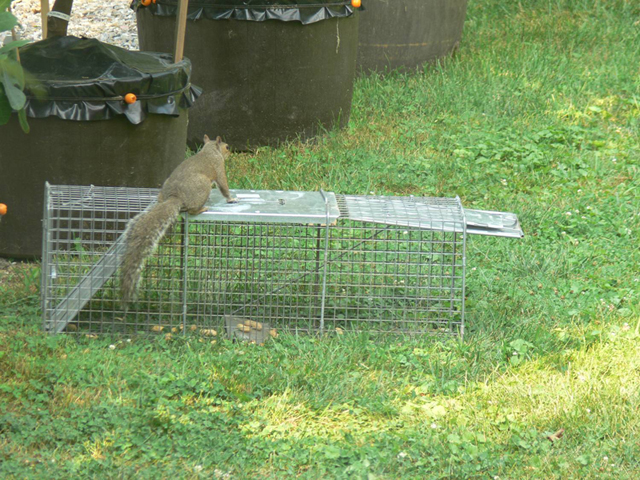
Squirrels like fig trees, too. |
|
I found that squirrels like nuts almost as much as they like fresh figs. I use a Have-a-Heart trap and relocate the squirrels about 10 miles away. Last year I trapped over 50. I hear that they taste like chicken! (No recipes.) |
|
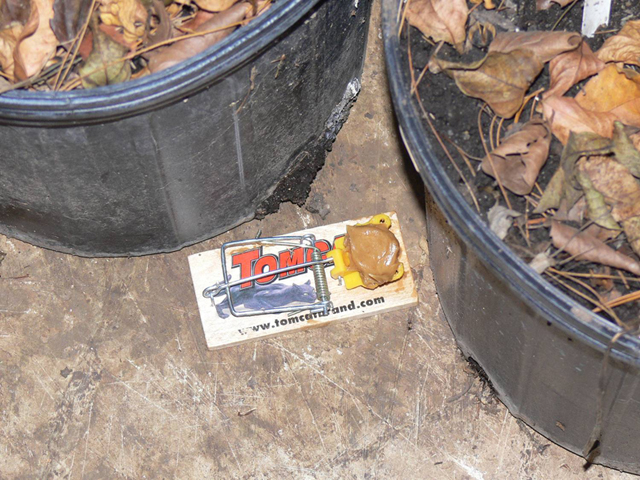
I store my fig trees in the barn. Mice can be a problem and I control them with simple traps, along with an auditory alarm. |
|
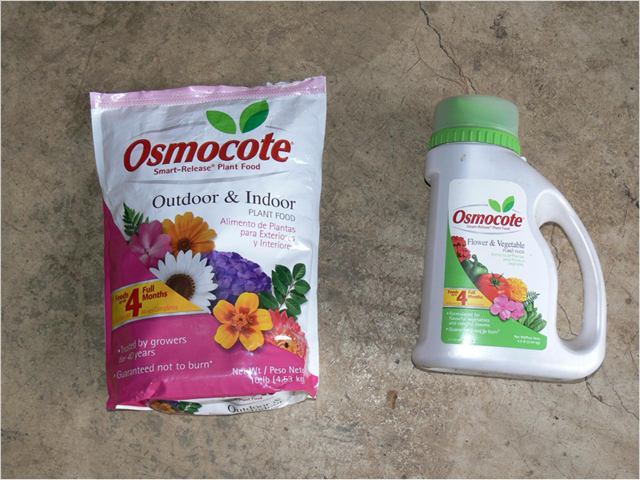
I use Osmocote fertilizer. I use it because it is simple. One application in the spring is all that is needed. I use the flower and plant food for the first two or three years and then move to the flower and vegetable garden food. For a container the size of the ones that I use I would put in four (4) measures. I use the measure that comes with the Osmocote. It is approximately the size of a coffee measure. To each of the pots I add 4 capfuls. |

|
This is the granular limestone that I use. |
|
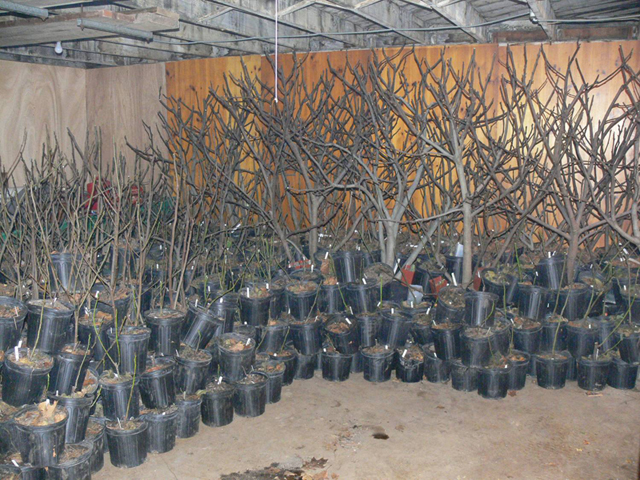
Finally, 650 fig trees prepared and stored for the winter. |
|
This is the barn where I store my trees. They are located to the right of the door (behind Boomer). They get no light in the winter and the temperature gets down to just above freezing. |

|
Call me with any questions that you may have or to buy a fig tree, or two. 908-806-4887 |

|
Bill Muzychko Owner of Bills Figs 329 Old York Road Flemington, New Jersey 08822 wmuzy@comcast.net |