|
Rooting success is almost entirely dependent on controlling moisture, both in the potting media and in the atmosphere around your cuttings. Soil moisture and humidity are crucial. The cuttings will rot if their soil is too wet. If it is too dry, the new roots will desiccate and die. If the humidity is too high, mold is a likely outcome, and if it is too low, the cuttings are at risk of desiccation before rooting occurs. Using a rooting media that maintains proper levels of air and moisture increases success greatly.
|
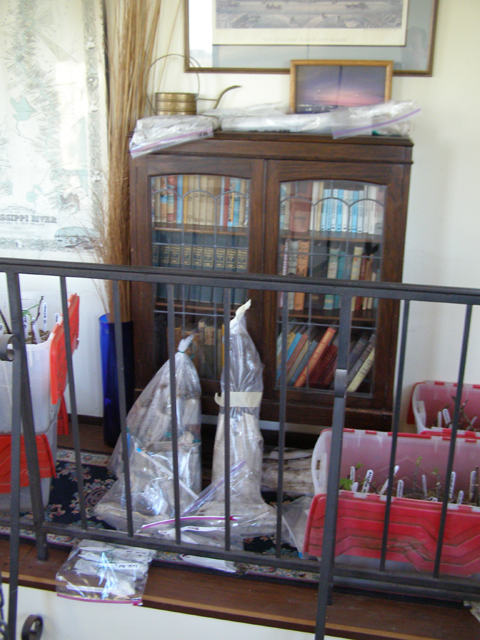
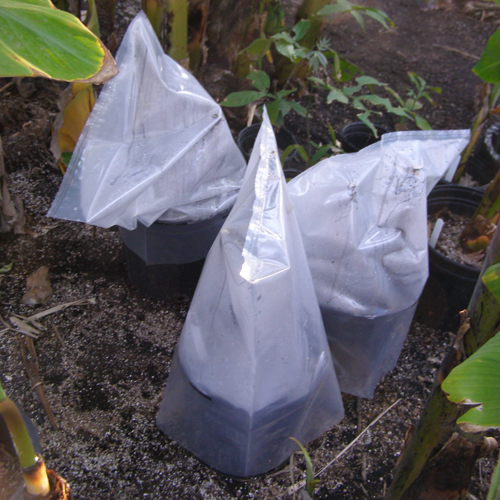
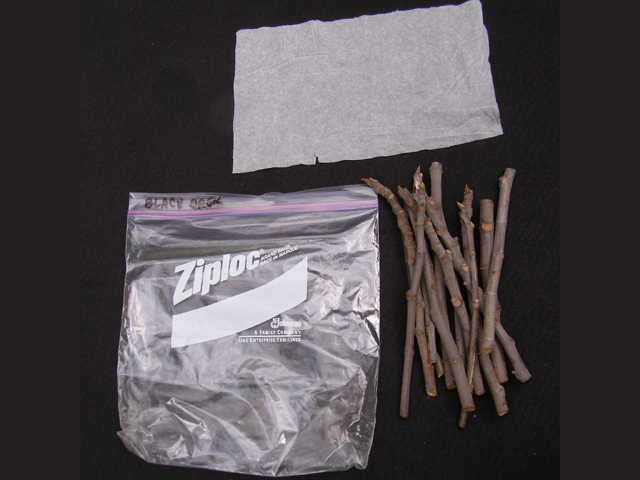
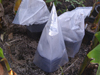
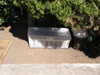
Humidity can be controlled in a greenhouse, or using something simple like a plastic storage box with the lid substantially closed. Here I used a plastic bag over a black nursery pot, in the shade of a tree. It doesn't need to be expensive or fancy, only functional.
|

|
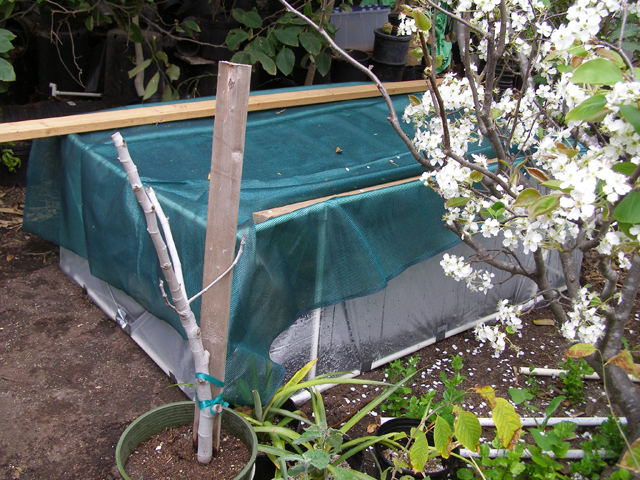
In the dry climate of San Diego, humidity in your cuttings' rooting environment must be provided artificially. In the muggy Southeast, however, cuttings can be placed outdoors with little risk. Here I made a frame (unglued) of PVC pipe, covered with a plastic drop cloth, a piece of shade cloth for shade, and a 2x 4 to hold the shade cloth in place. Later I substituted a piece of cardboard for the shade cloth.
|

|
The other factor is heat. Rooting is greatly speeded up when temps are 70F or higher. Providing a warm environment can be as simple as placing your cuttings in a bag on top of the refrigerator, or a shelf above the stove. Last winter I helped a friend root cuttings from her neighbor's tree using the bag method. She had never grown a fig tree before. Now she grows new trees for Christmas presents.
|
|
I learned "rooting-in-a-bag" from CRFG member Richard Watts. I am sure that I don't do it quite the way he does, because he puts his cuttings in his van, in his driveway, which provides solar heating to obtain warm temps for rooting.
|

|
I don't own a van, so I can't follow his technique "step-by-step." The point is not the exact technique, however, it is satisfying the principles involved: controlling moisture in the scion and providing proper temperature to stimulate root growth.
|
|
For me, the procedure is simple:
|

|
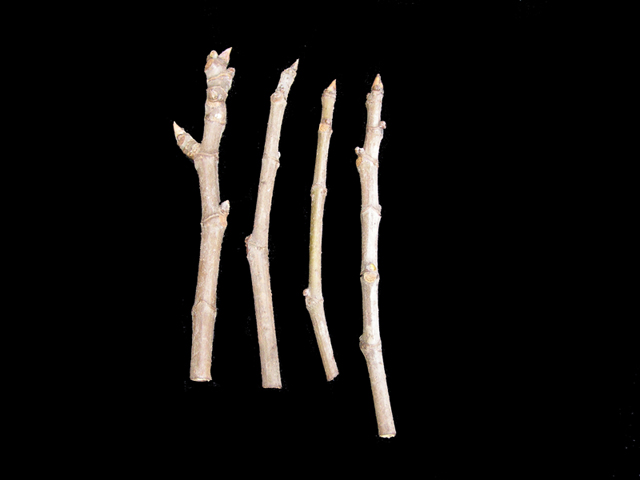
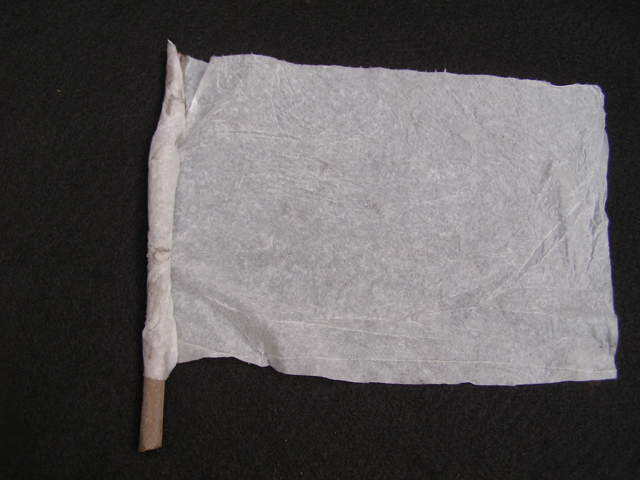
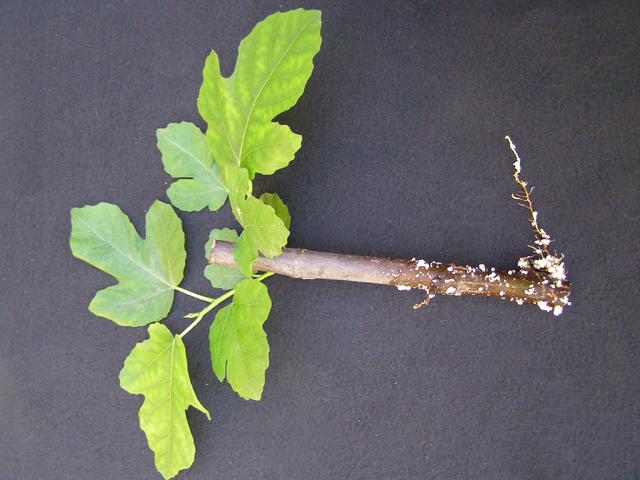
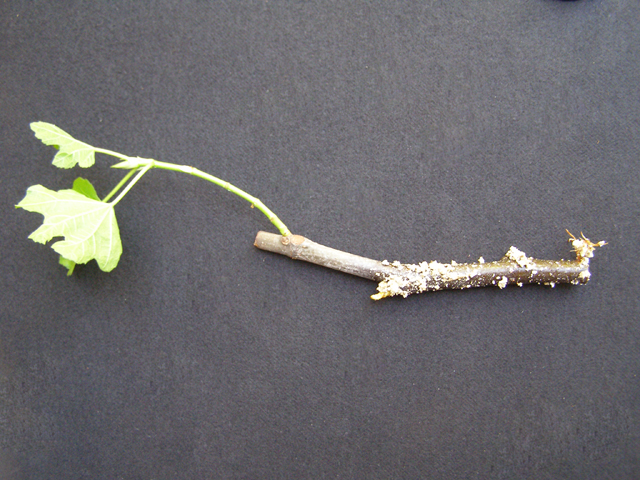
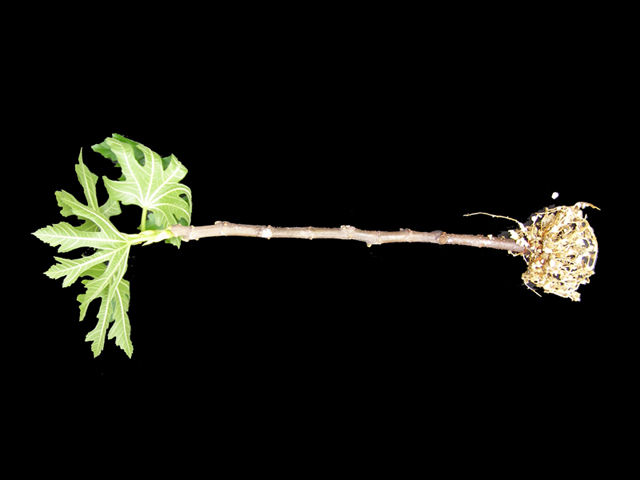
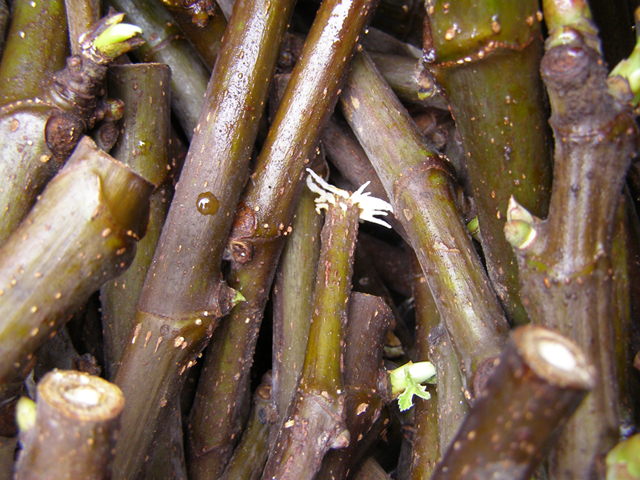
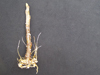
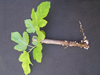
First, it is important to identify the top and bottom ends of your scion. Tip cuttings are easy, but others take closer inspection. MORE
|
|
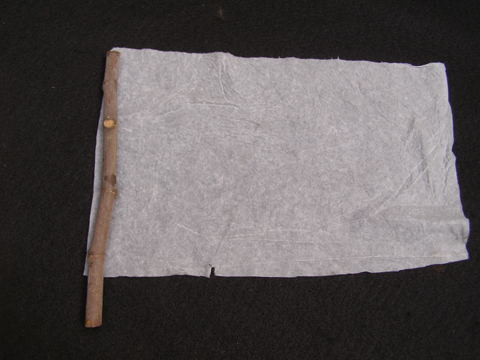
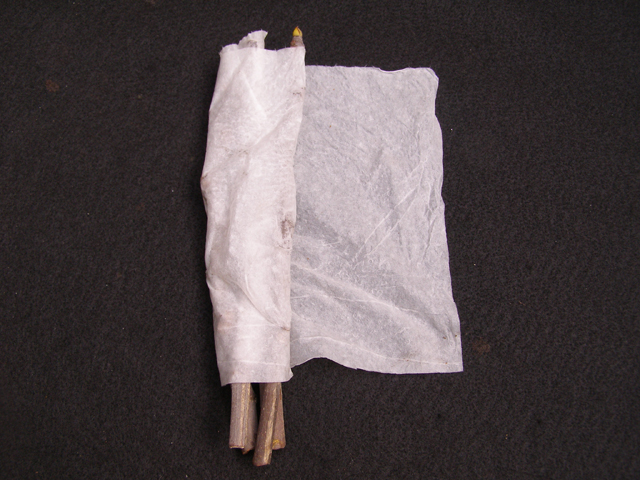
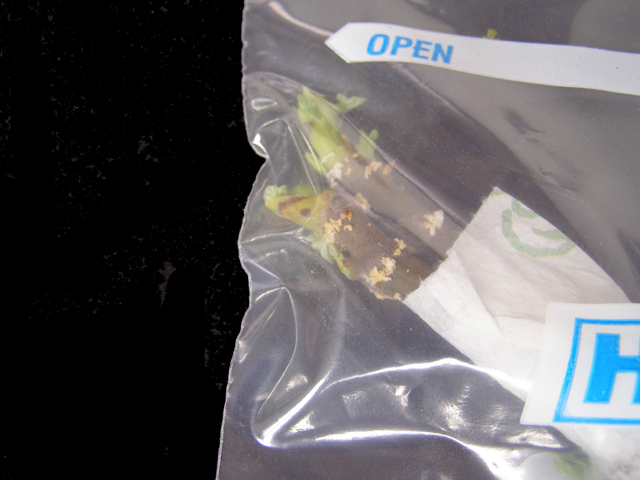
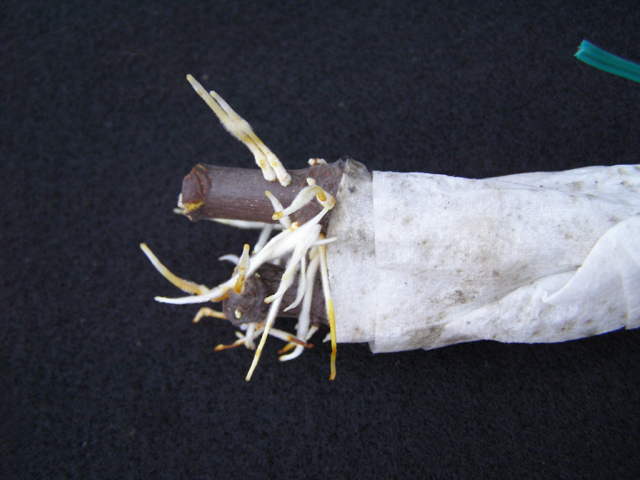
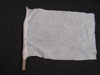
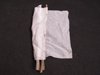
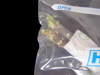
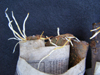
I wrap scions in lightly dampened paper towels or newspaper-the essential here is maintaining moisture, not a particular paper type-then I place them in a sealed plastic bag and put them in a warm place.
|
|
Sometimes I put them on my desk, were I can watch them. Usually I put them somewhere upstairs because heat rises.
|
|
Be patient; each variety is different and each cutting, even when from the same tree, can differ in its response.
|
|
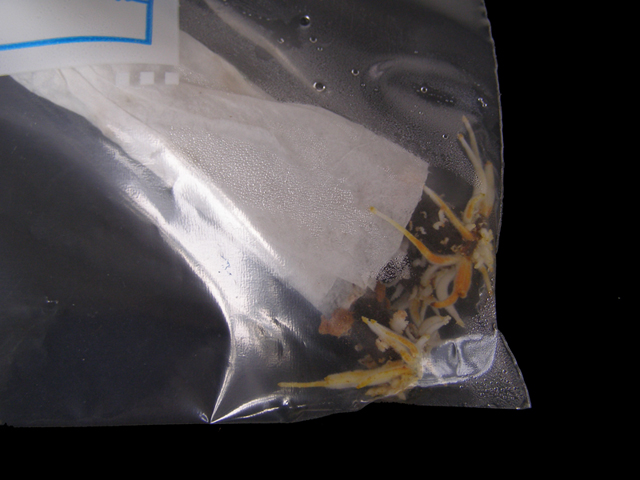
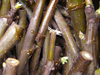
In a few weeks, you will see root initials begin to form, and then roots.
|
|
|
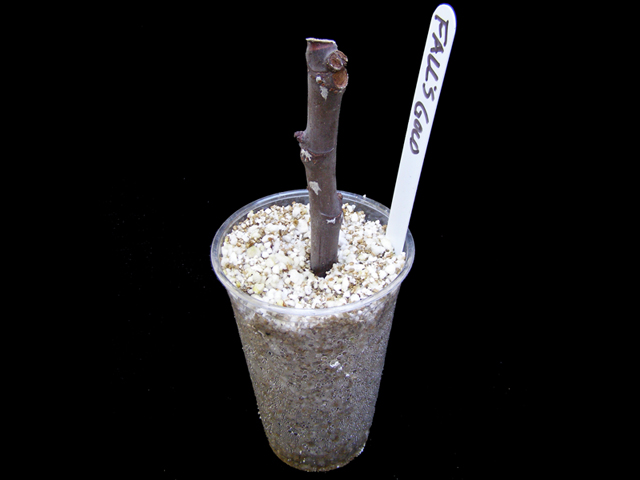
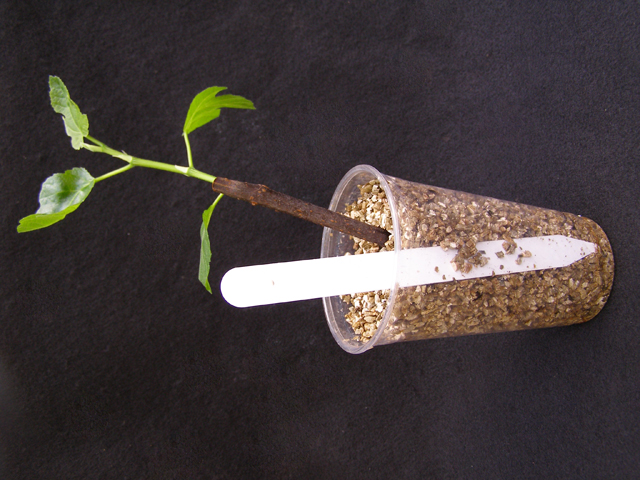
Once I see roots I transfer the scions from bags to 26-oz. clear plastic cups containing a rooting medium and with holes drilled in their bottoms-and remember that deeper cups are better. MORE
|
|
Ideally, this will be the result in a few weeks. "Your results may vary." I have the advantage of having done this many times, and then using the pictures which show the best results.
|
|
Some cuttings will also sprout in the bag. That is OK. Some will want to grow leaves before roots. More about that later.
|
|
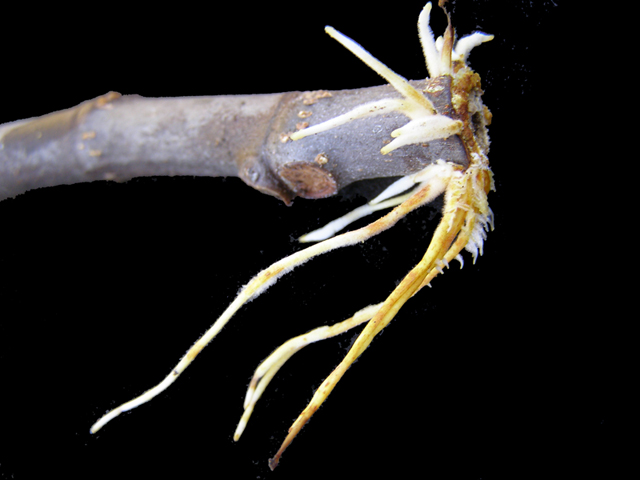
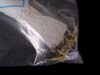
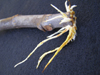
Close up of root formation, in the bag,
|

|
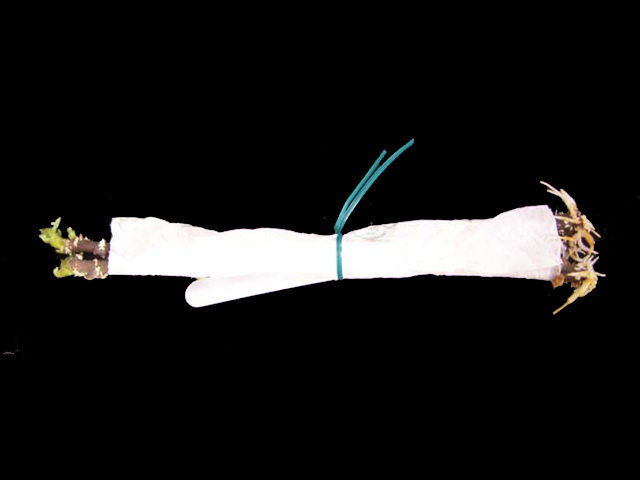
Now the cuttings are removed from the bag, for transfer to a clear cup. Don't forget to label.
|
|
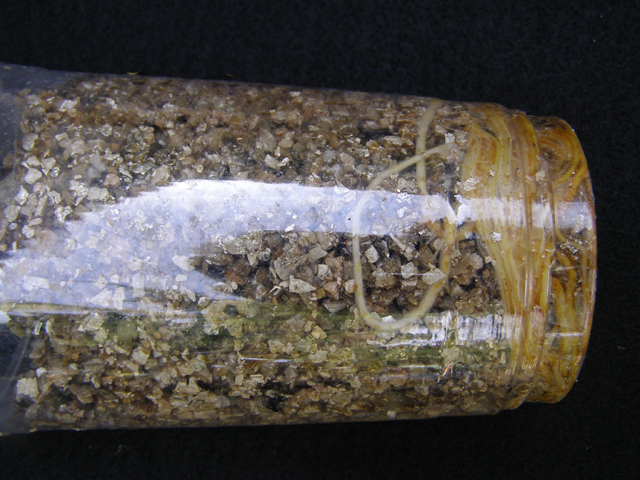
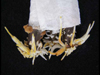
Close-up of the same cuttings and roots.

|
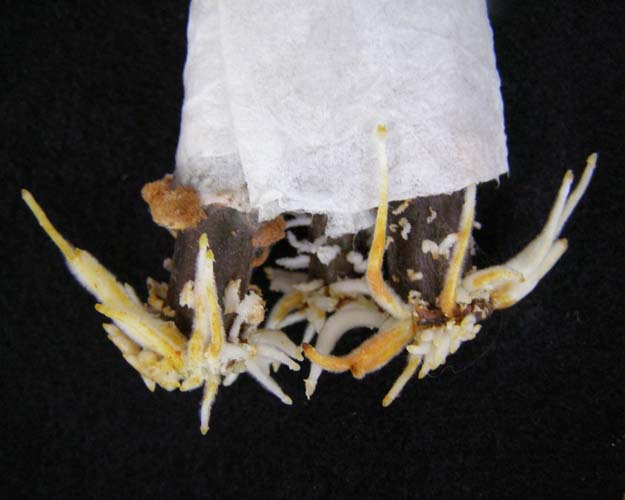
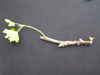
Roots on a different batch of cuttings.
|
|
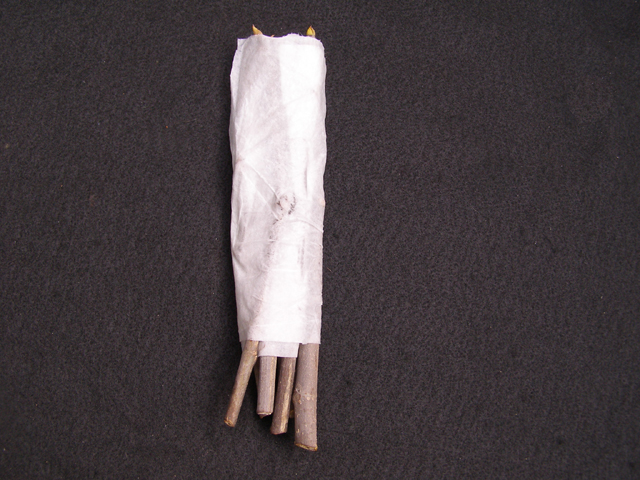
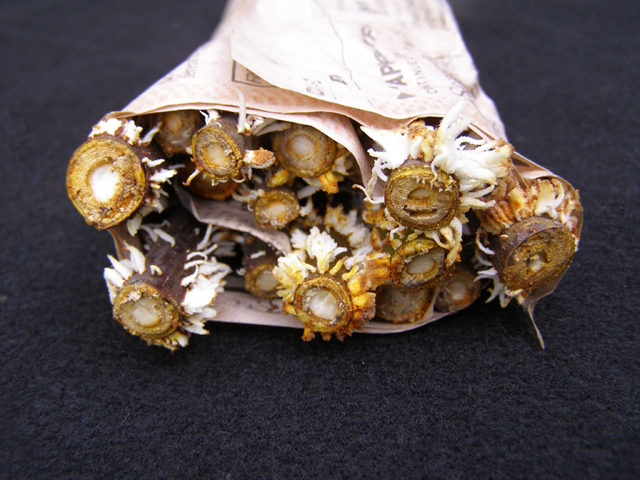
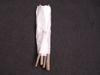
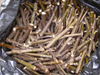
Same method, different cuttings. There cuttings are up to 1-1/4" in diameter and 16" long. They were wrapped in damp newspaper and placed in a bigger bag.
|
|
Here is a closeup of another bundle from the same bag. This "bag" technique can be used on all sizes of cuttings. I have done some as large as 2" in diameter. MORE
|
|
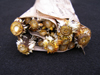
One last picture of nice root development.
|

|
Another nice feature of the bag method is the efficiency. You are not using time and space and potting soil on cuttings which are not inclined to root. They only get potted when they have shown root development. In a bag, they can be on top of the refrigerator, on your desk, etc.
|

|
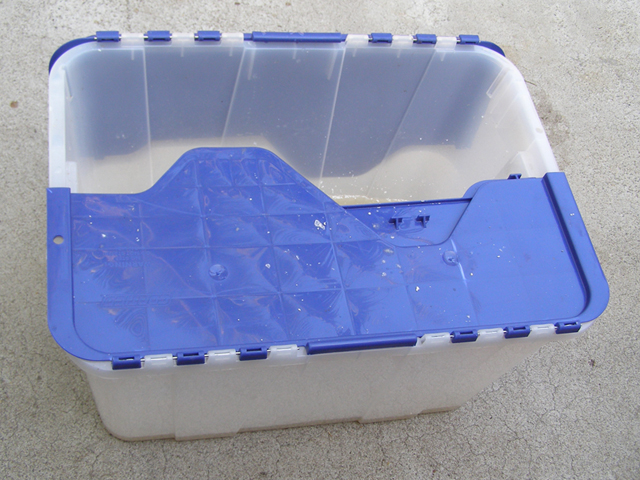
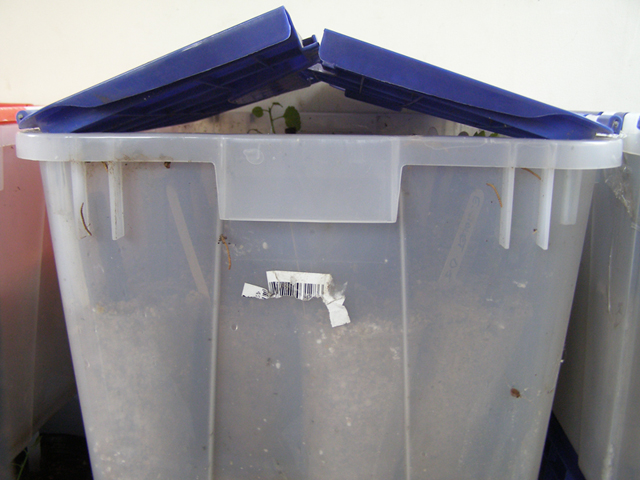
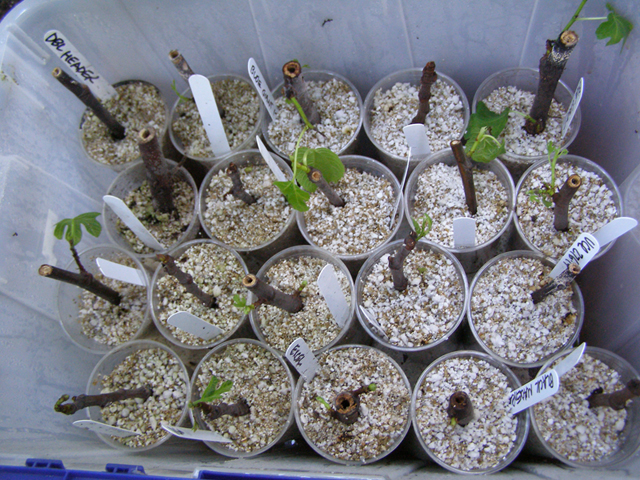
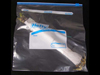
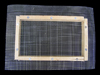
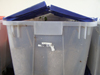
These pre-rooted cuttings are placed in clear plastic cups, on wire racks, in plastic storage boxes. These boxes were $5, hold 20 cuttings, are water proof and can be used to control humidity.
|
|
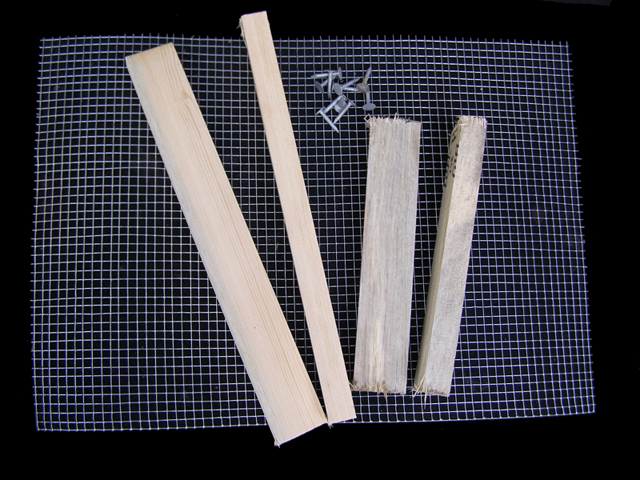
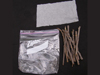
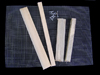
These are the pieces I use
|
|
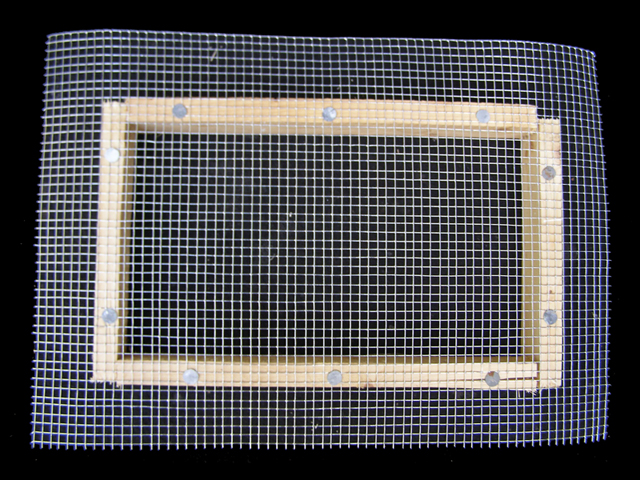
The screen "racks" are used to keep the cups above the water that collects at the bottom of the storage box. If the cups sit in water, the rooting media wicks up the water rotting the cuttings. But the water underneath the screen provides humidity to maintain moisture in the cutting. MORE
|

|
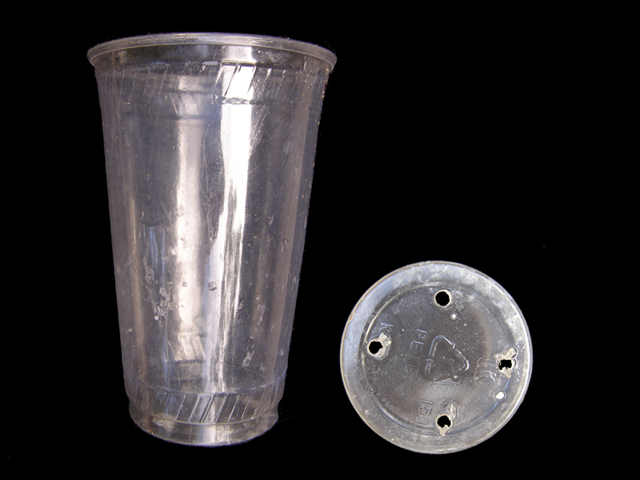
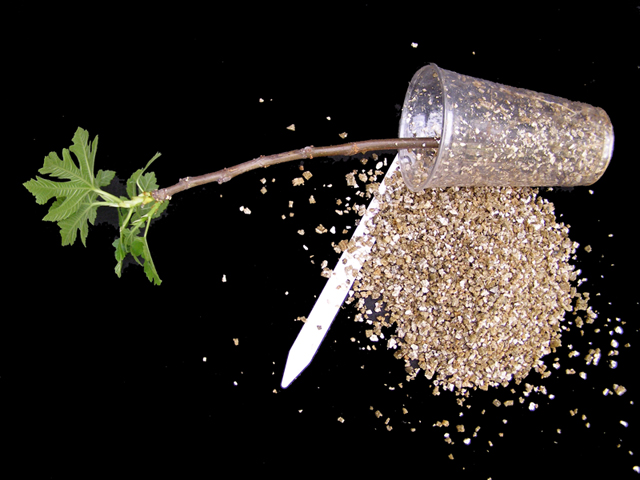
These pre-rooted cuttings are then placed in these clear cups for further root development. These cups most have drain holes to allow excess moisture to pass through. MORE
|

|
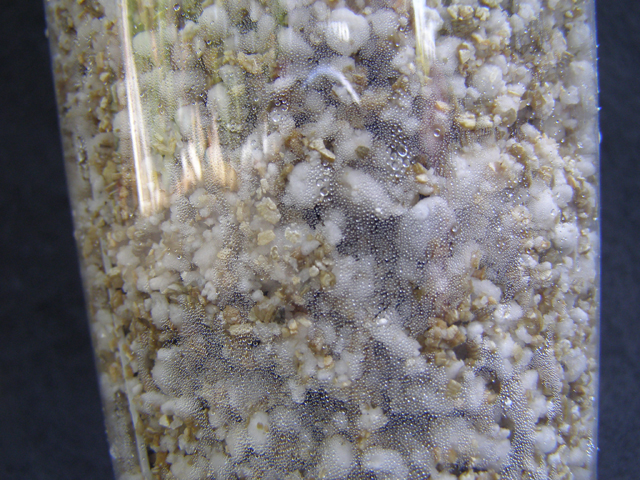
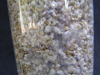
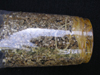
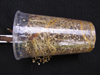
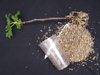
I have used a variety of rooting media. Potting soils hold too much moisture. Coarse vermiculite produces very good results. The coarse texture allows for good air penetration in the media, while the vermiculite holds the moisture well. When I couldn't get the coarse vermiculite anymore, I switched to a mix of 60% Perlite and 40% finer vermiculite. This medium also works well. MORE
|
|
I have found that condensation on the inside of the cup is a good indication of sufficient moisture, perhaps bordering on too wet.
|
|
If you open the lids a little bit, this allows fresh air to enter, which is important in controlling mold. If the lids are wide open, you lose too much humidity. The water at the bottom of the crate, under the screen, replenishes the humidity lost by having the lids open a little bit.
|

|
You can see that each cutting progresses on it own timeline.
|
|
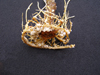
Eventually, you should develop roots such as these, but, again, each cutting is different.
|
|
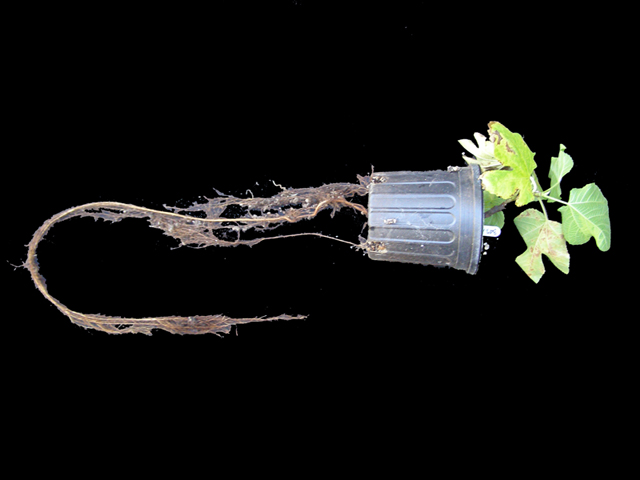
The second important principle to remember is this: roots and leaves have no relationship to each other. If you take a dozen cuttings from the same tree and grow them in the same rooting media in the same pot-as close to identical nature and nurture as you can get-some cuttings will grow roots, some will grow leaves, and some will grow both.
|
|
You cannot presume root development from observing leaf development. This is why I use clear cups; they allow me to actually see whether roots are developing.
|
|
4-5" of stem growth and still very little roots to support a viable plant.
|
|
Here is what that cutting looked like in the clear cup. Strong and healthy. But with the clear cup it is easy to see that there was little or no root development. Not a good candidate for transplanting, yet, unless moved to a very high humidity environment.
|
|
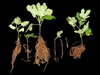
Here are 7 cuttings from the same tree, placed in the same pot for rooting, in the same soil, with the same water and temperature, for the same length of time. Three cuttings rooted well, 2 were just starting to root, one did nothing and one rotted. Each cutting takes its own path, it weems.
|
|
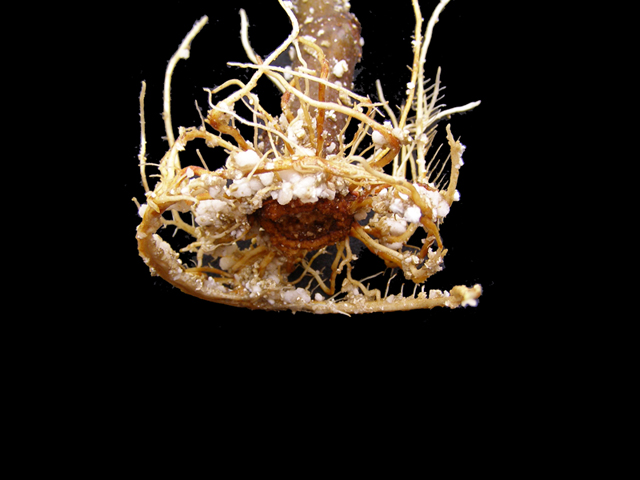
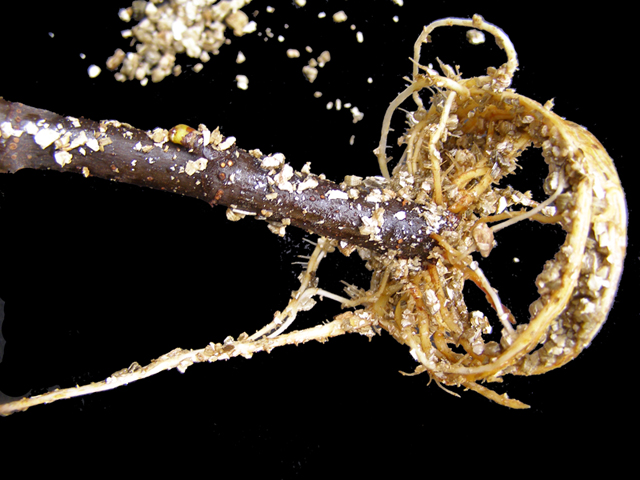
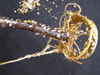
Again, the clear cup revels that this cutting has very vigorous root development.
|
|
Removed from the cup and ready for repotting in a 1 gallon pot.
|
|
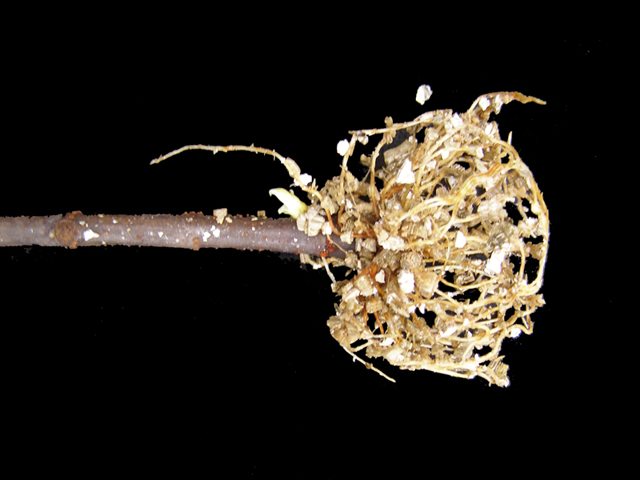
Good root development seen through the cup...
|

|
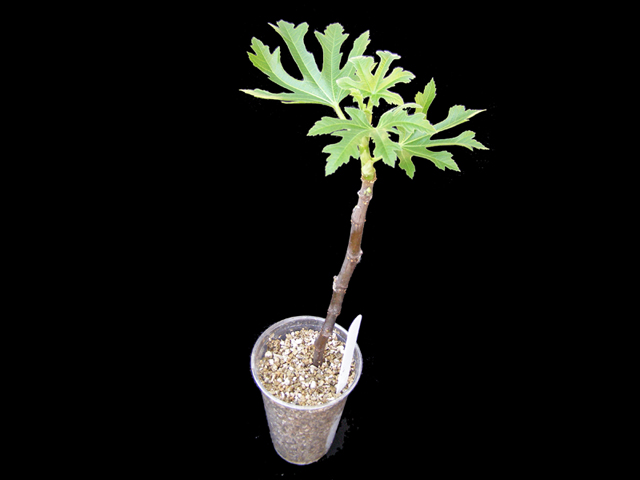
...as well as good leaf development. The ideal.
|
|
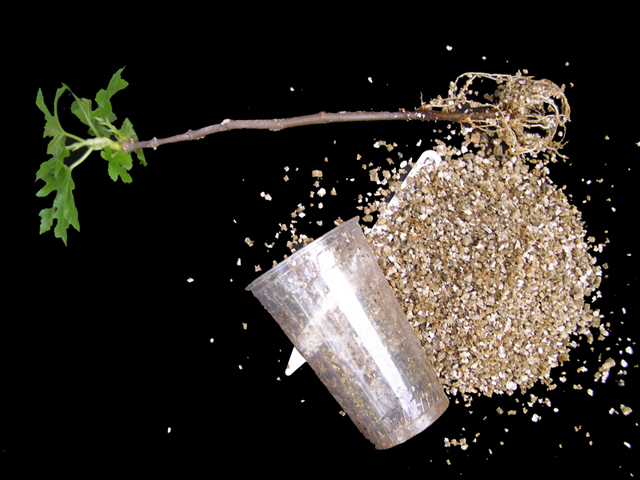
Another advantage of vermiculite and Perlite as a rooting medium is the ease of removing the rooted cutting for repotting. Mixes that contain organic materials tend to stick to the sides of the cups, which leads to root damage.
|
|
Completely removed with ease. If the roots stick to the sides of the cup, squeeze and flex the cup. The sides of the cup can bend at sharp angles, and the roots will not. The cup may crack, but even cracked cups can be reused because they don't need to hold water.
|

|
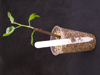
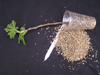
Ready for potting. The happened to be "Cucumber" which rooted vigorously and very quickly.
|

|
Close up of the roots.
|
|
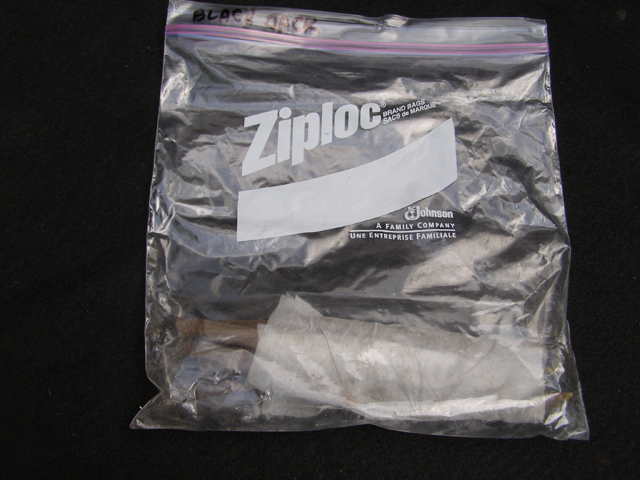
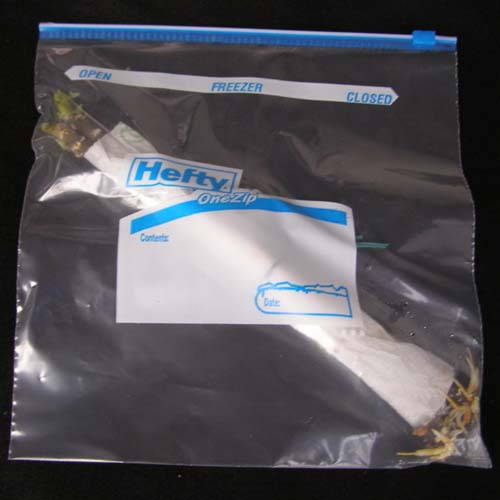
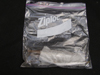
I found that when I blew up the bags of cuttings, I had more air inside, which reduced molding. Bags with an actual zipper made blowing them up a little easier than the regular Ziploc bags.
|

|
What is the proper size for a cutting? See MORE
|
|
|
Now forget everything that I just taught you. You don't need to go to all that trouble.
|

|
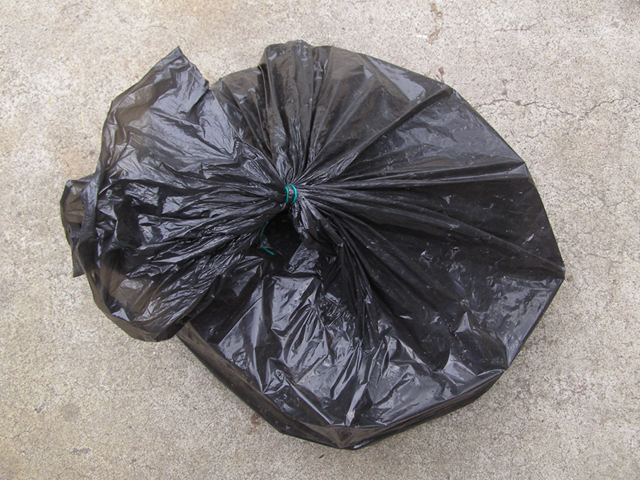
These cuttings sat outside for 6 months, in a black trash bag, through 38F weather, 80+F weather, rain, etc. They got water-logged when the bucket filled with rain. They were not refrigerated, and had no moist paper in with them. In short, I did everything wrong, and yet they continued to root under these conditions. This is much easier.
|

|
My ill treated bag of cuttings.
|
|
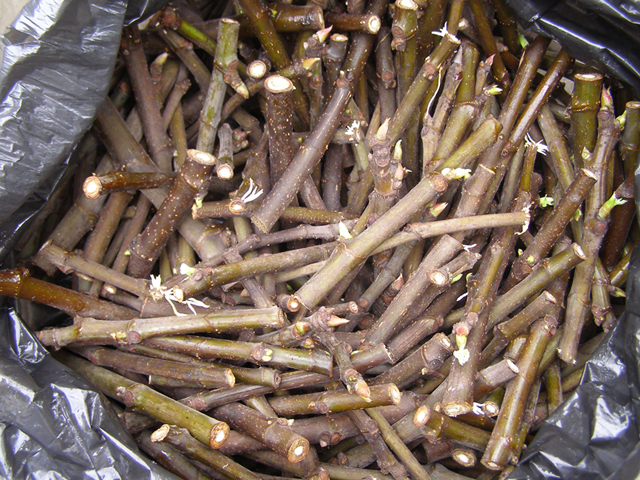
As you can see, they are rooting.
|
|
Close-up of the rooted cuttings.
|
|
These cuttings were placed in cups, then into a plastic box, and sealed tight. They were outside in cold and warm weather, with no change of air for months. They received late afternoon sun. With out fresh air, in some sun, they rooted just fine. Some solarization may have counter-balanced the lack of fresh air and kept them from molding.
|
|
|
I am not suggesting these methods, but they illustrate something important: when the principles are satisfied, rooting will occur, and there is more than one way to achieve success. Satisfy the principles, and you won't need a "recipe" for success.
|
|
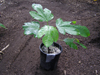
When I see good root development, I transfer the cuttings to 1-gallon pots containing a potting mix of 60% Perlite and 40% compost, and then acclimate them to the outdoors, usually putting them in shade with augmented humidity for a few days, and gradually introducing them to more sunlight over a period of weeks. At this stage, potting mix moisture control is still critical. Too much moisture will still cause rot and failure.
|

|
Don't forget to label you plants. |

|
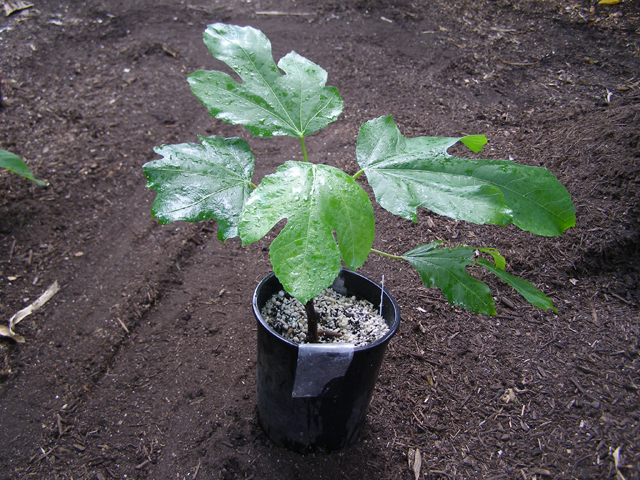
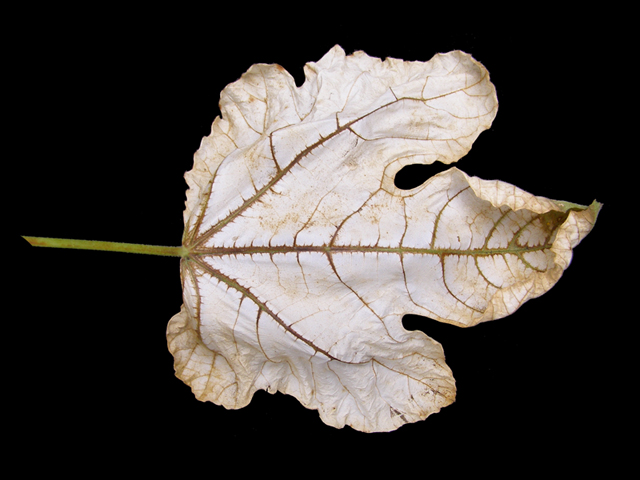
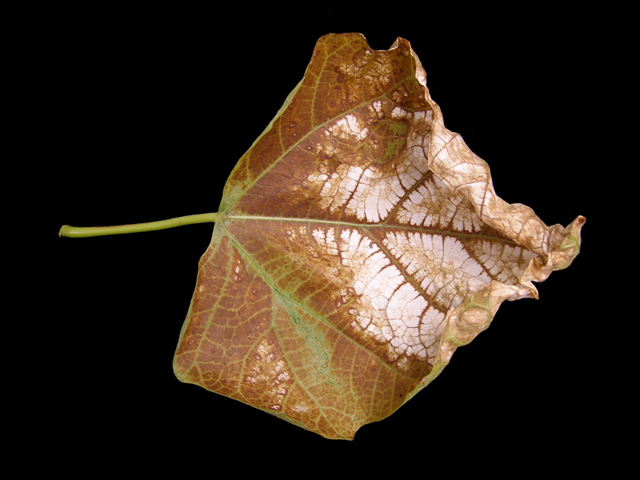
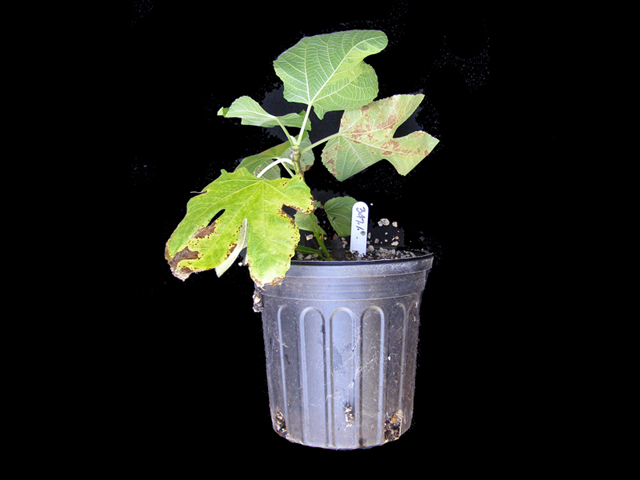
Plants that have been grown in greenhouses or not in direct sun should be transitioned into increasing amounts of sun. These pictures show what happens to leaves on plants that were moved directly into full sun.
|
|
|


|

|
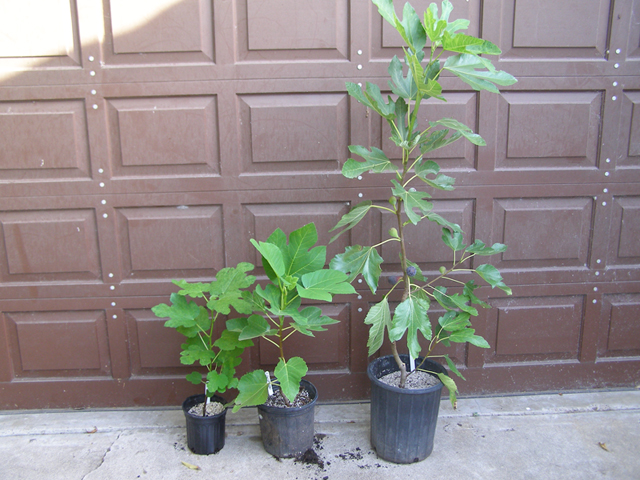
After the plants are successfully transitioned and evidencing new growth, I water appropriately. Once a week after I water them, I let them stand for an hour and then I re-water them with a half-strength solution of Miracle-Gro. In many instances, this will produce a 6-foot tree by the beginning of autumn.
|
|
When I see roots in the drain holes, I transfer the trees to 2-gallon pots while reversing my mix to 40% Perlite and 60% compost.
|
|
|


|

|
When repotting again becomes necessary, I transfer the trees to 5-gallon pots, using 100% compost. Once they begin to outgrow the 5-gallon pots, they are large enough for planting in the ground, and will no longer require constant care, although they will need more frequent watering than an established tree.
|
| |